When you want to use your retro gaming consoles with your modern TV you probably will find cheap SCART to HDMI devices, please do not buy those. These devices will add lag and will ruin your gameplay!
There are some good devices available like the RetroTINK or the OSSC but I like to DIY so when I stumbled across the GBS 8200 Control I knew I wanted to build one. The GBS 8200 is supposed to be used with arcade boards to connect the CGA/EGA/YUV to VGA monitors but with custom firmware, you can use it with the 240p signal from your game consoles like the SNES and Sega MegaDrive, and best of all I bought one of amazon for 22 Euro including shipping. If you don’t mind the wait you can order even cheaper from AliExpress! You will need some additional parts so the total build will be around 40 euro. This is incredible considering most upscalers will set you back a 100 euro or more…

The minimum parts you will need:
1x GBS 8200 board
1x VGA to HDMI converter
1x NodeMCU EPS
1x 100R Resisitor
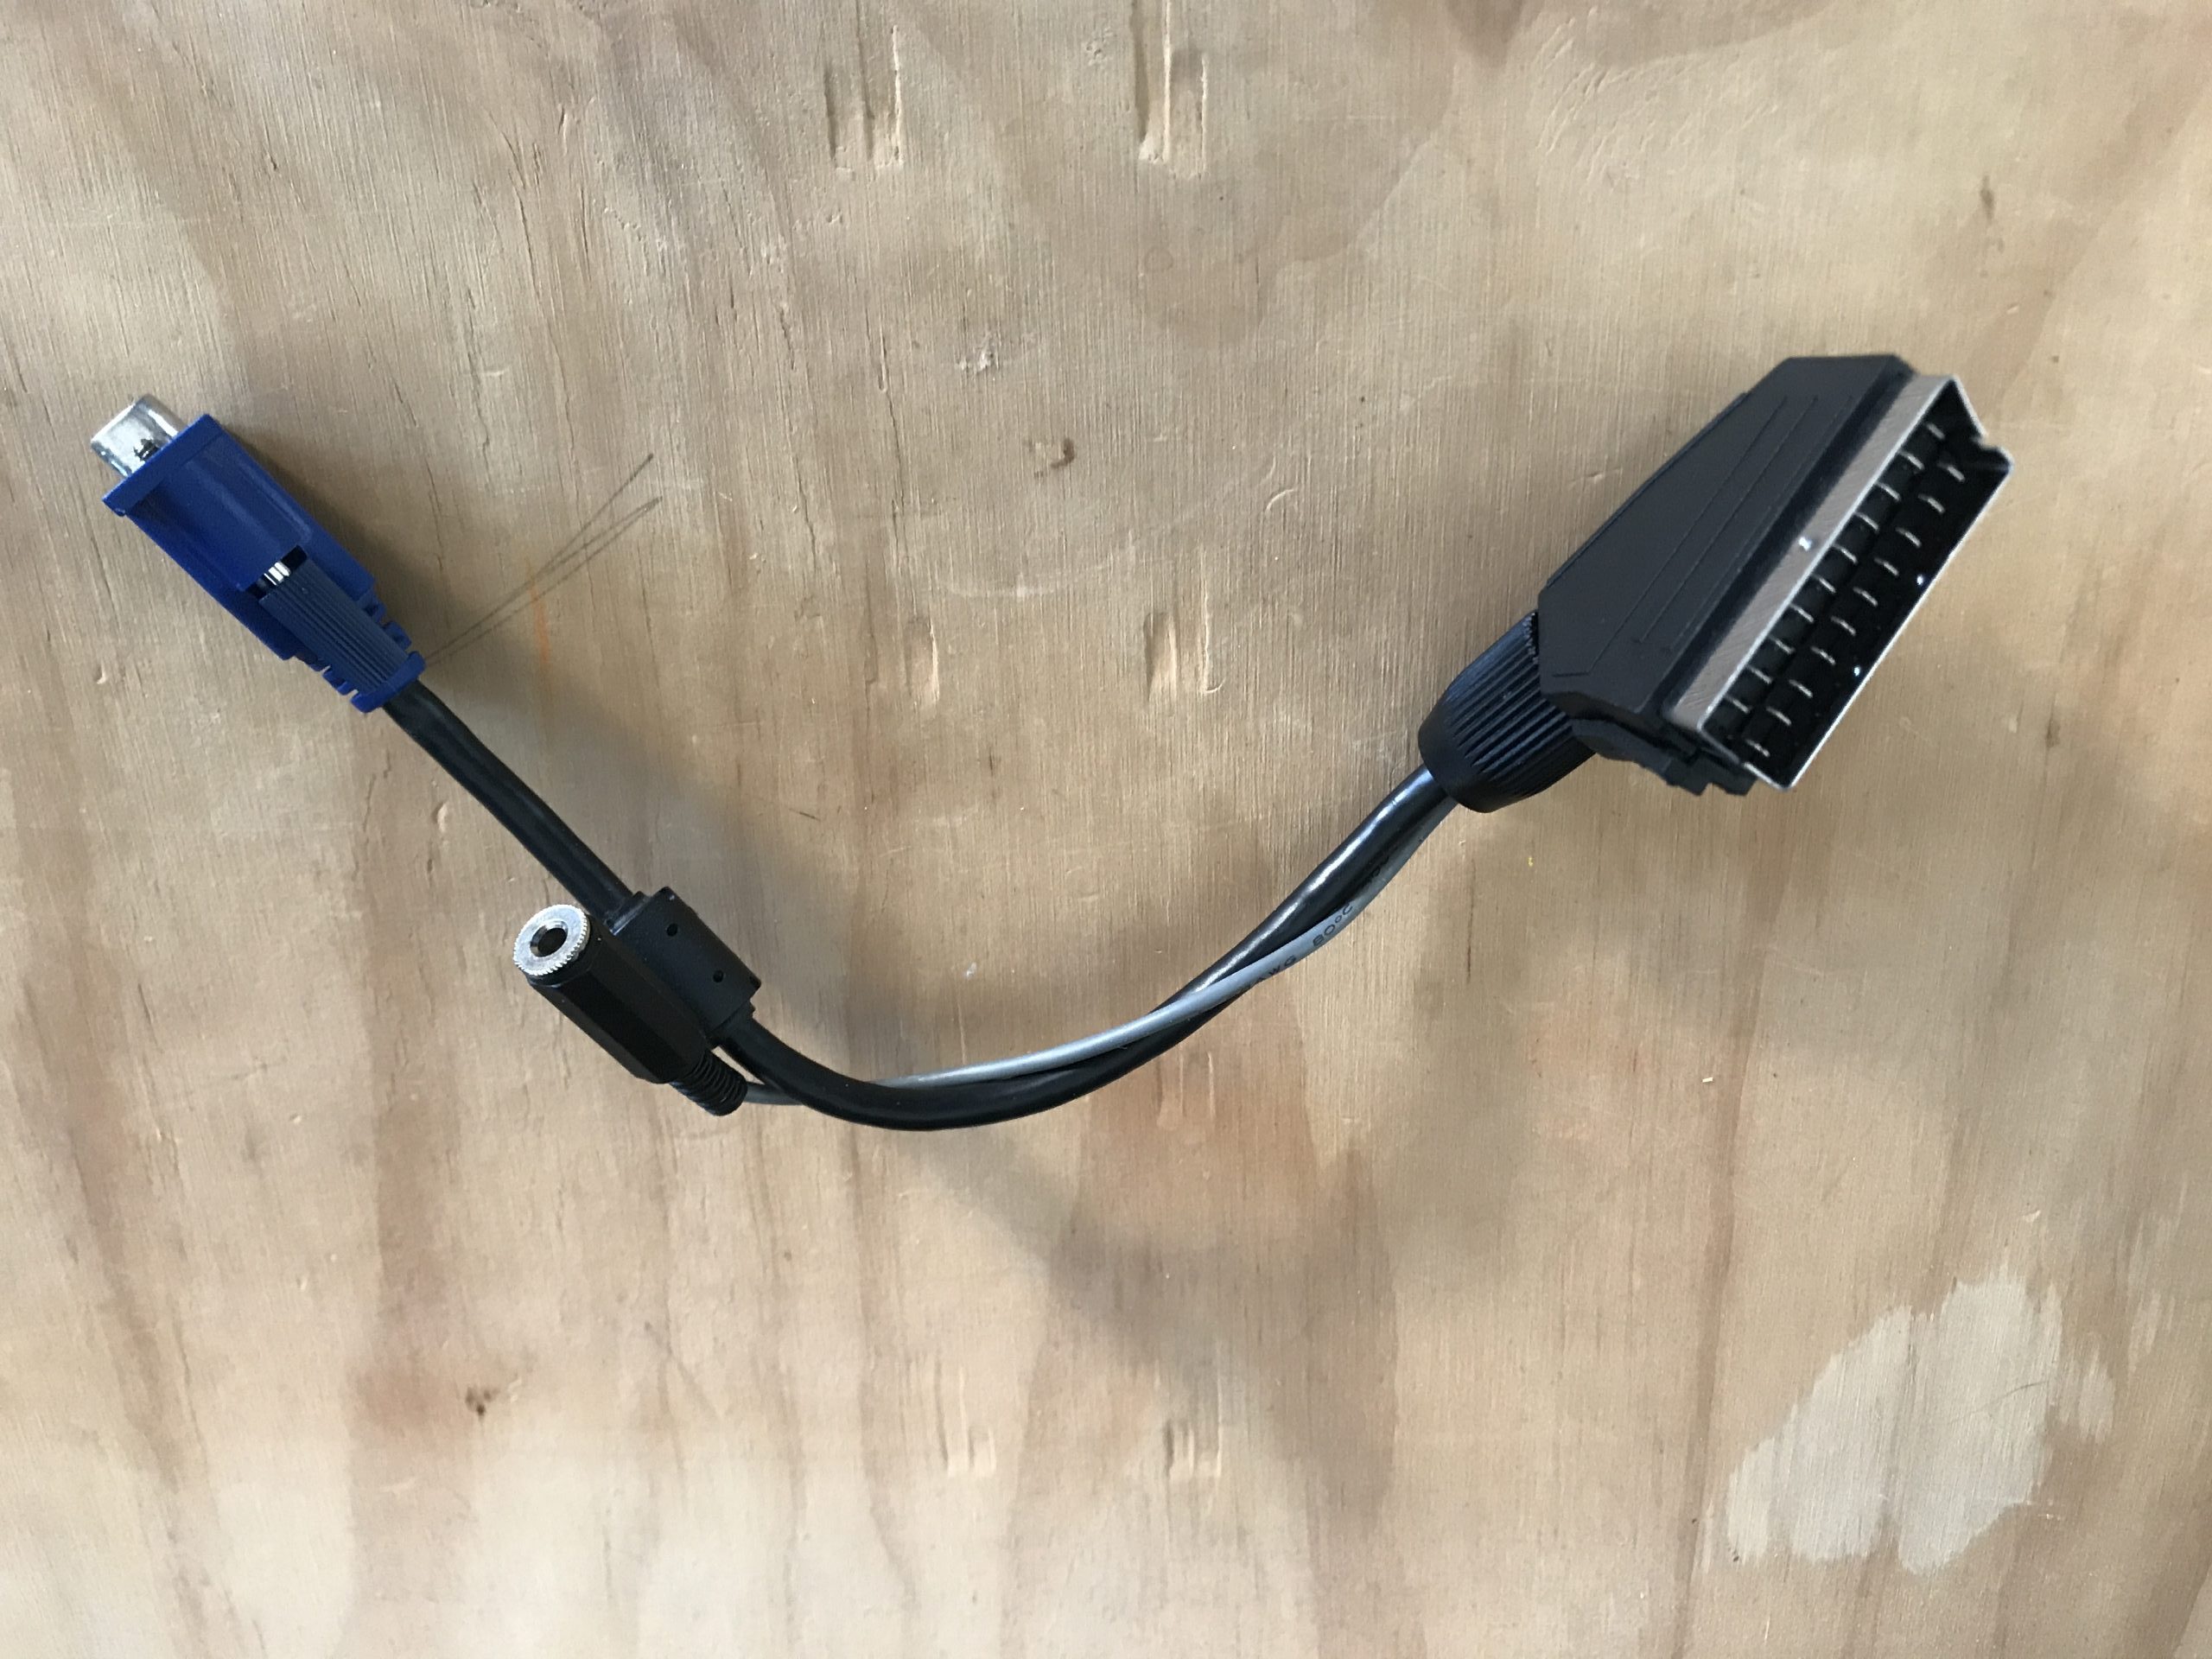
1x Female or Male SCART connector.
1x Good 5V power adapter
To get an even better result you could add the following:
1x Si5351Clock generator
5x 10uF 0805 Ceramic capacitors
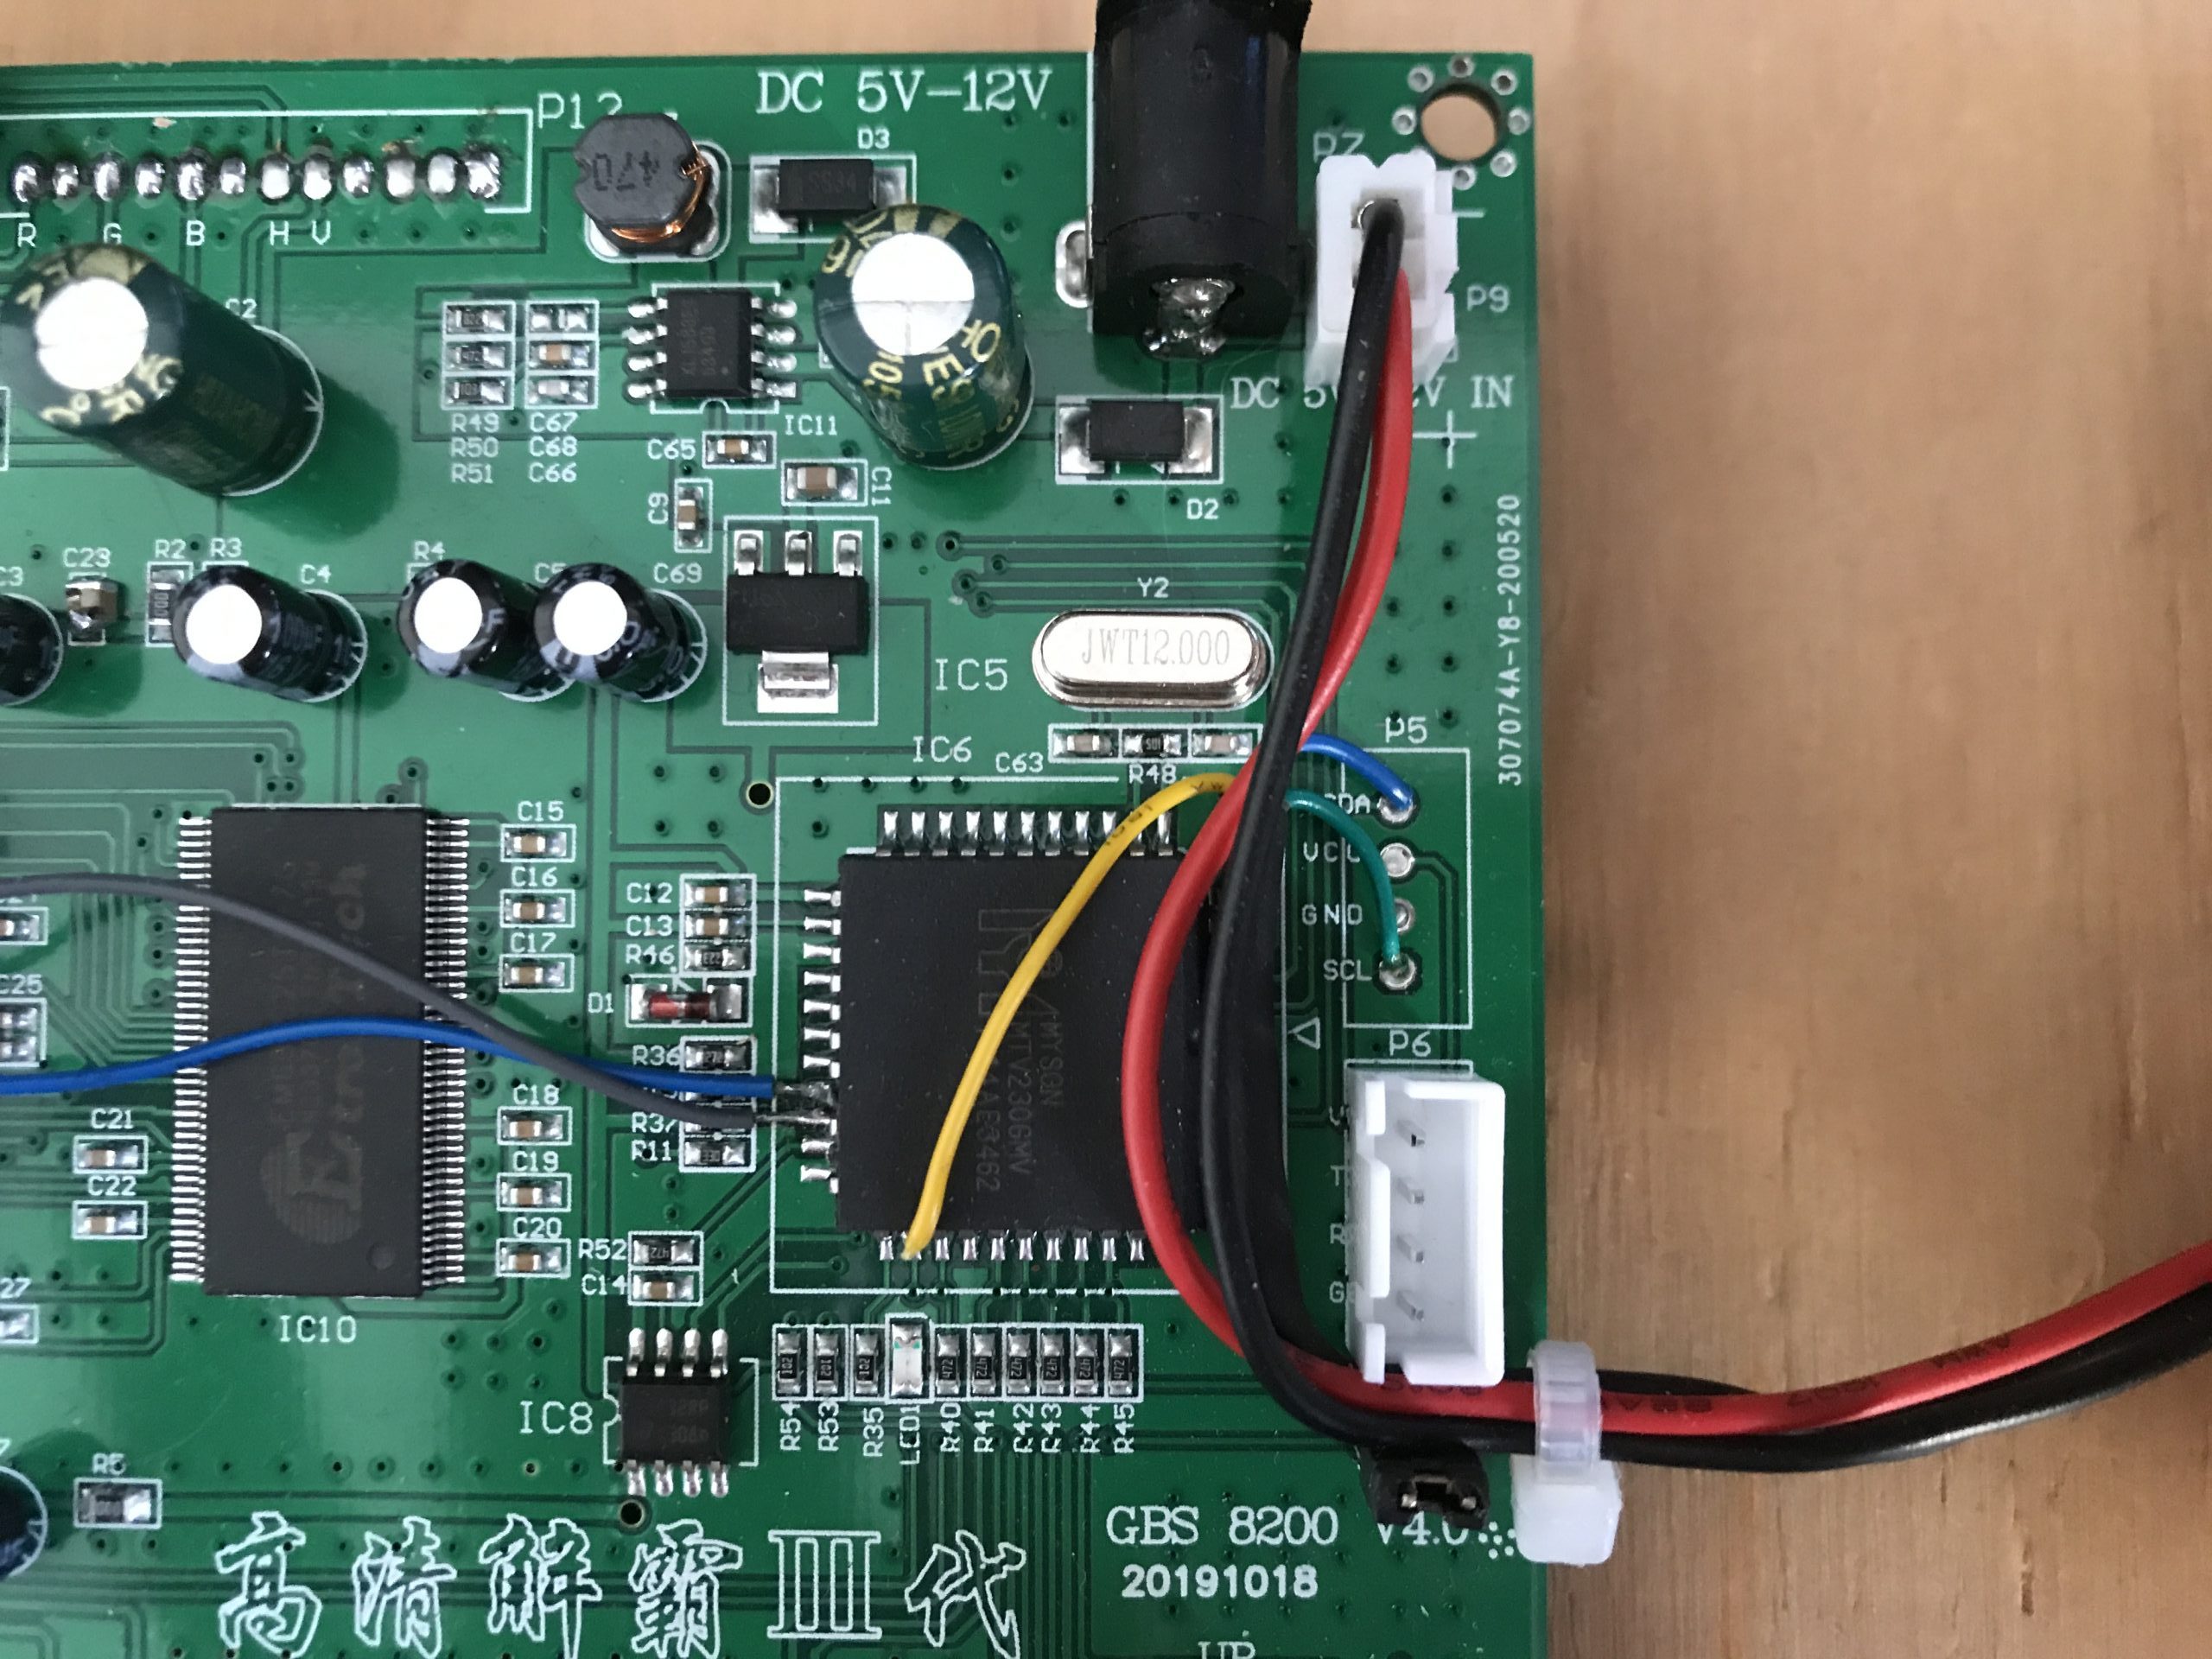
At the project page on Github there is a wiki that explains all the steps for building your own GBS 8200 Control. Below are some pictures of my build.
-
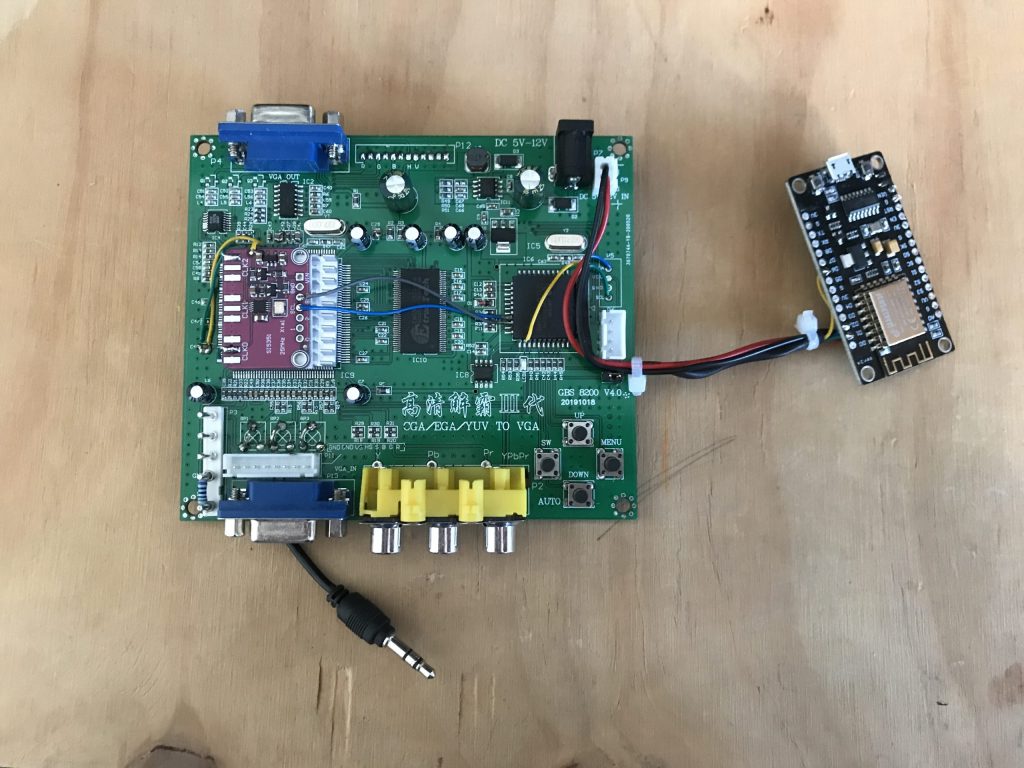
Complete GBS 8200 Control build -

100R resisitor -
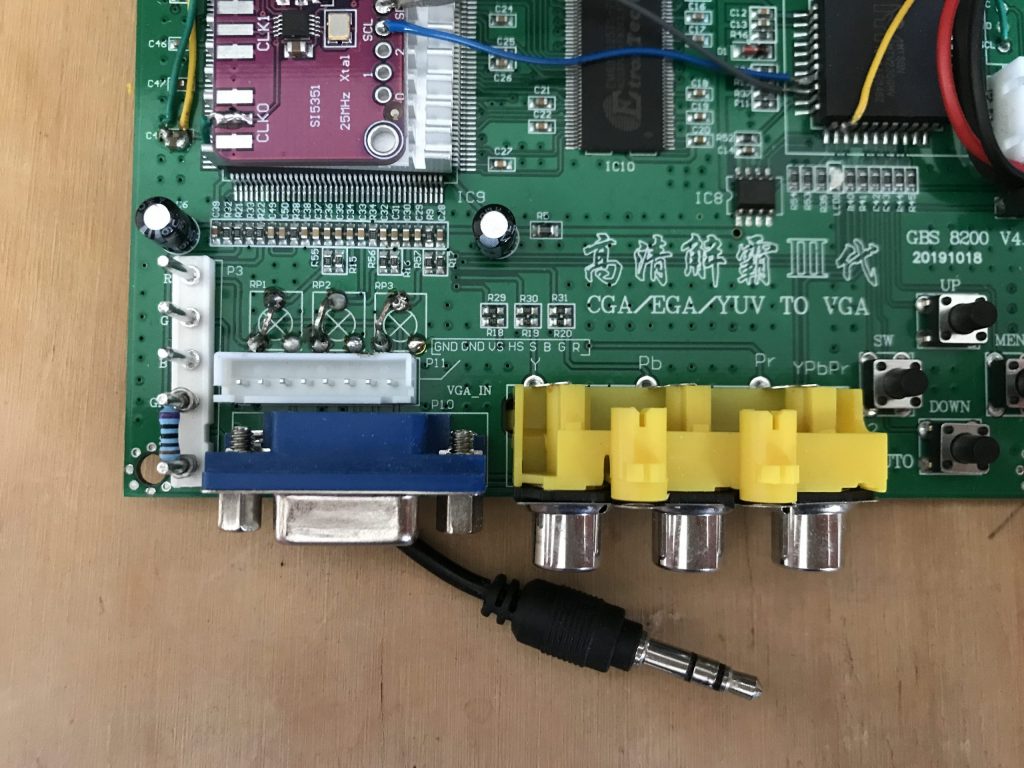
Potmeters removed -

NodeMCU connected -
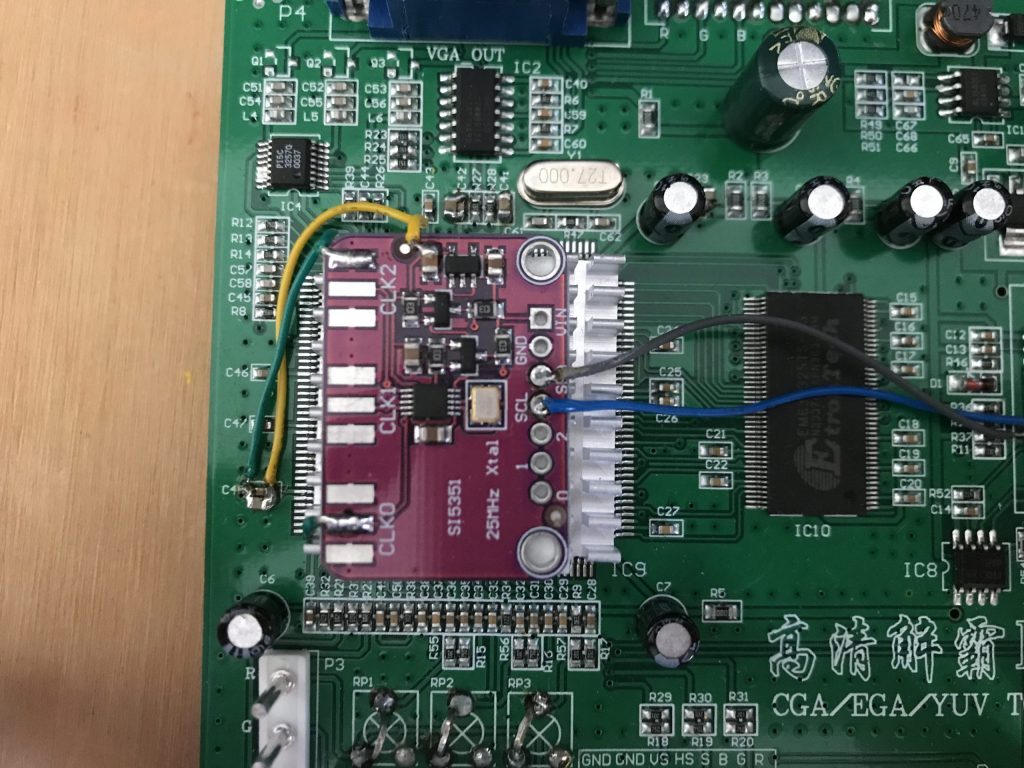
Si5351 Clock generator -

SCART to VGA cable -
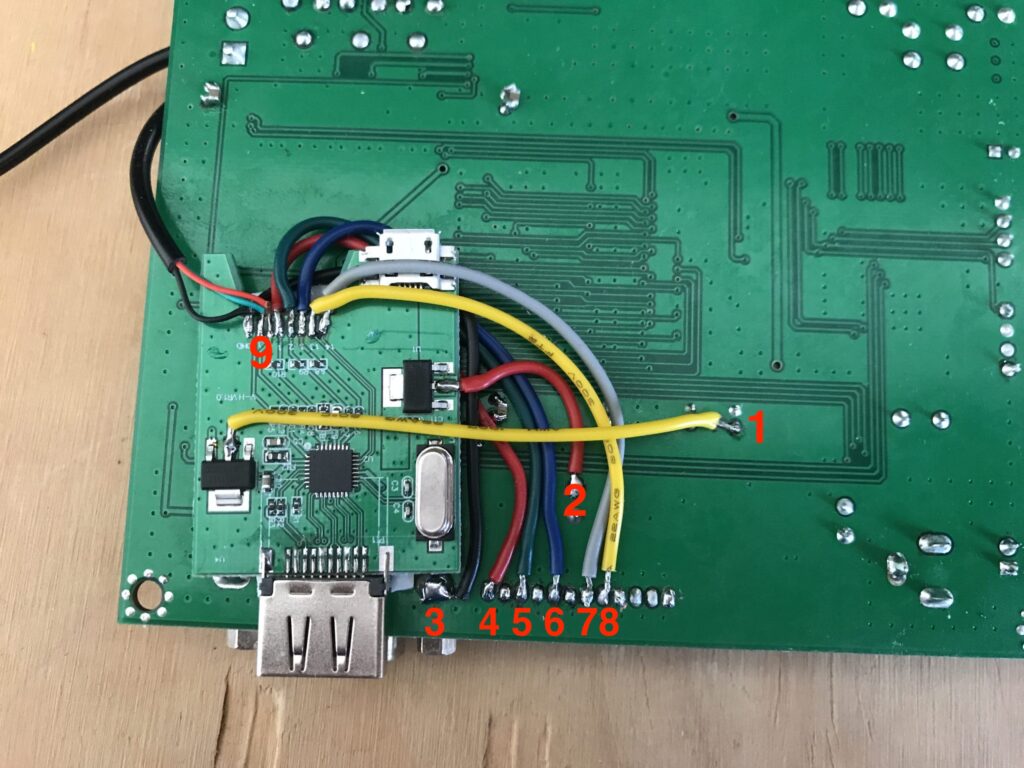
Stripped VGA to HDMI converter connected directly to the board

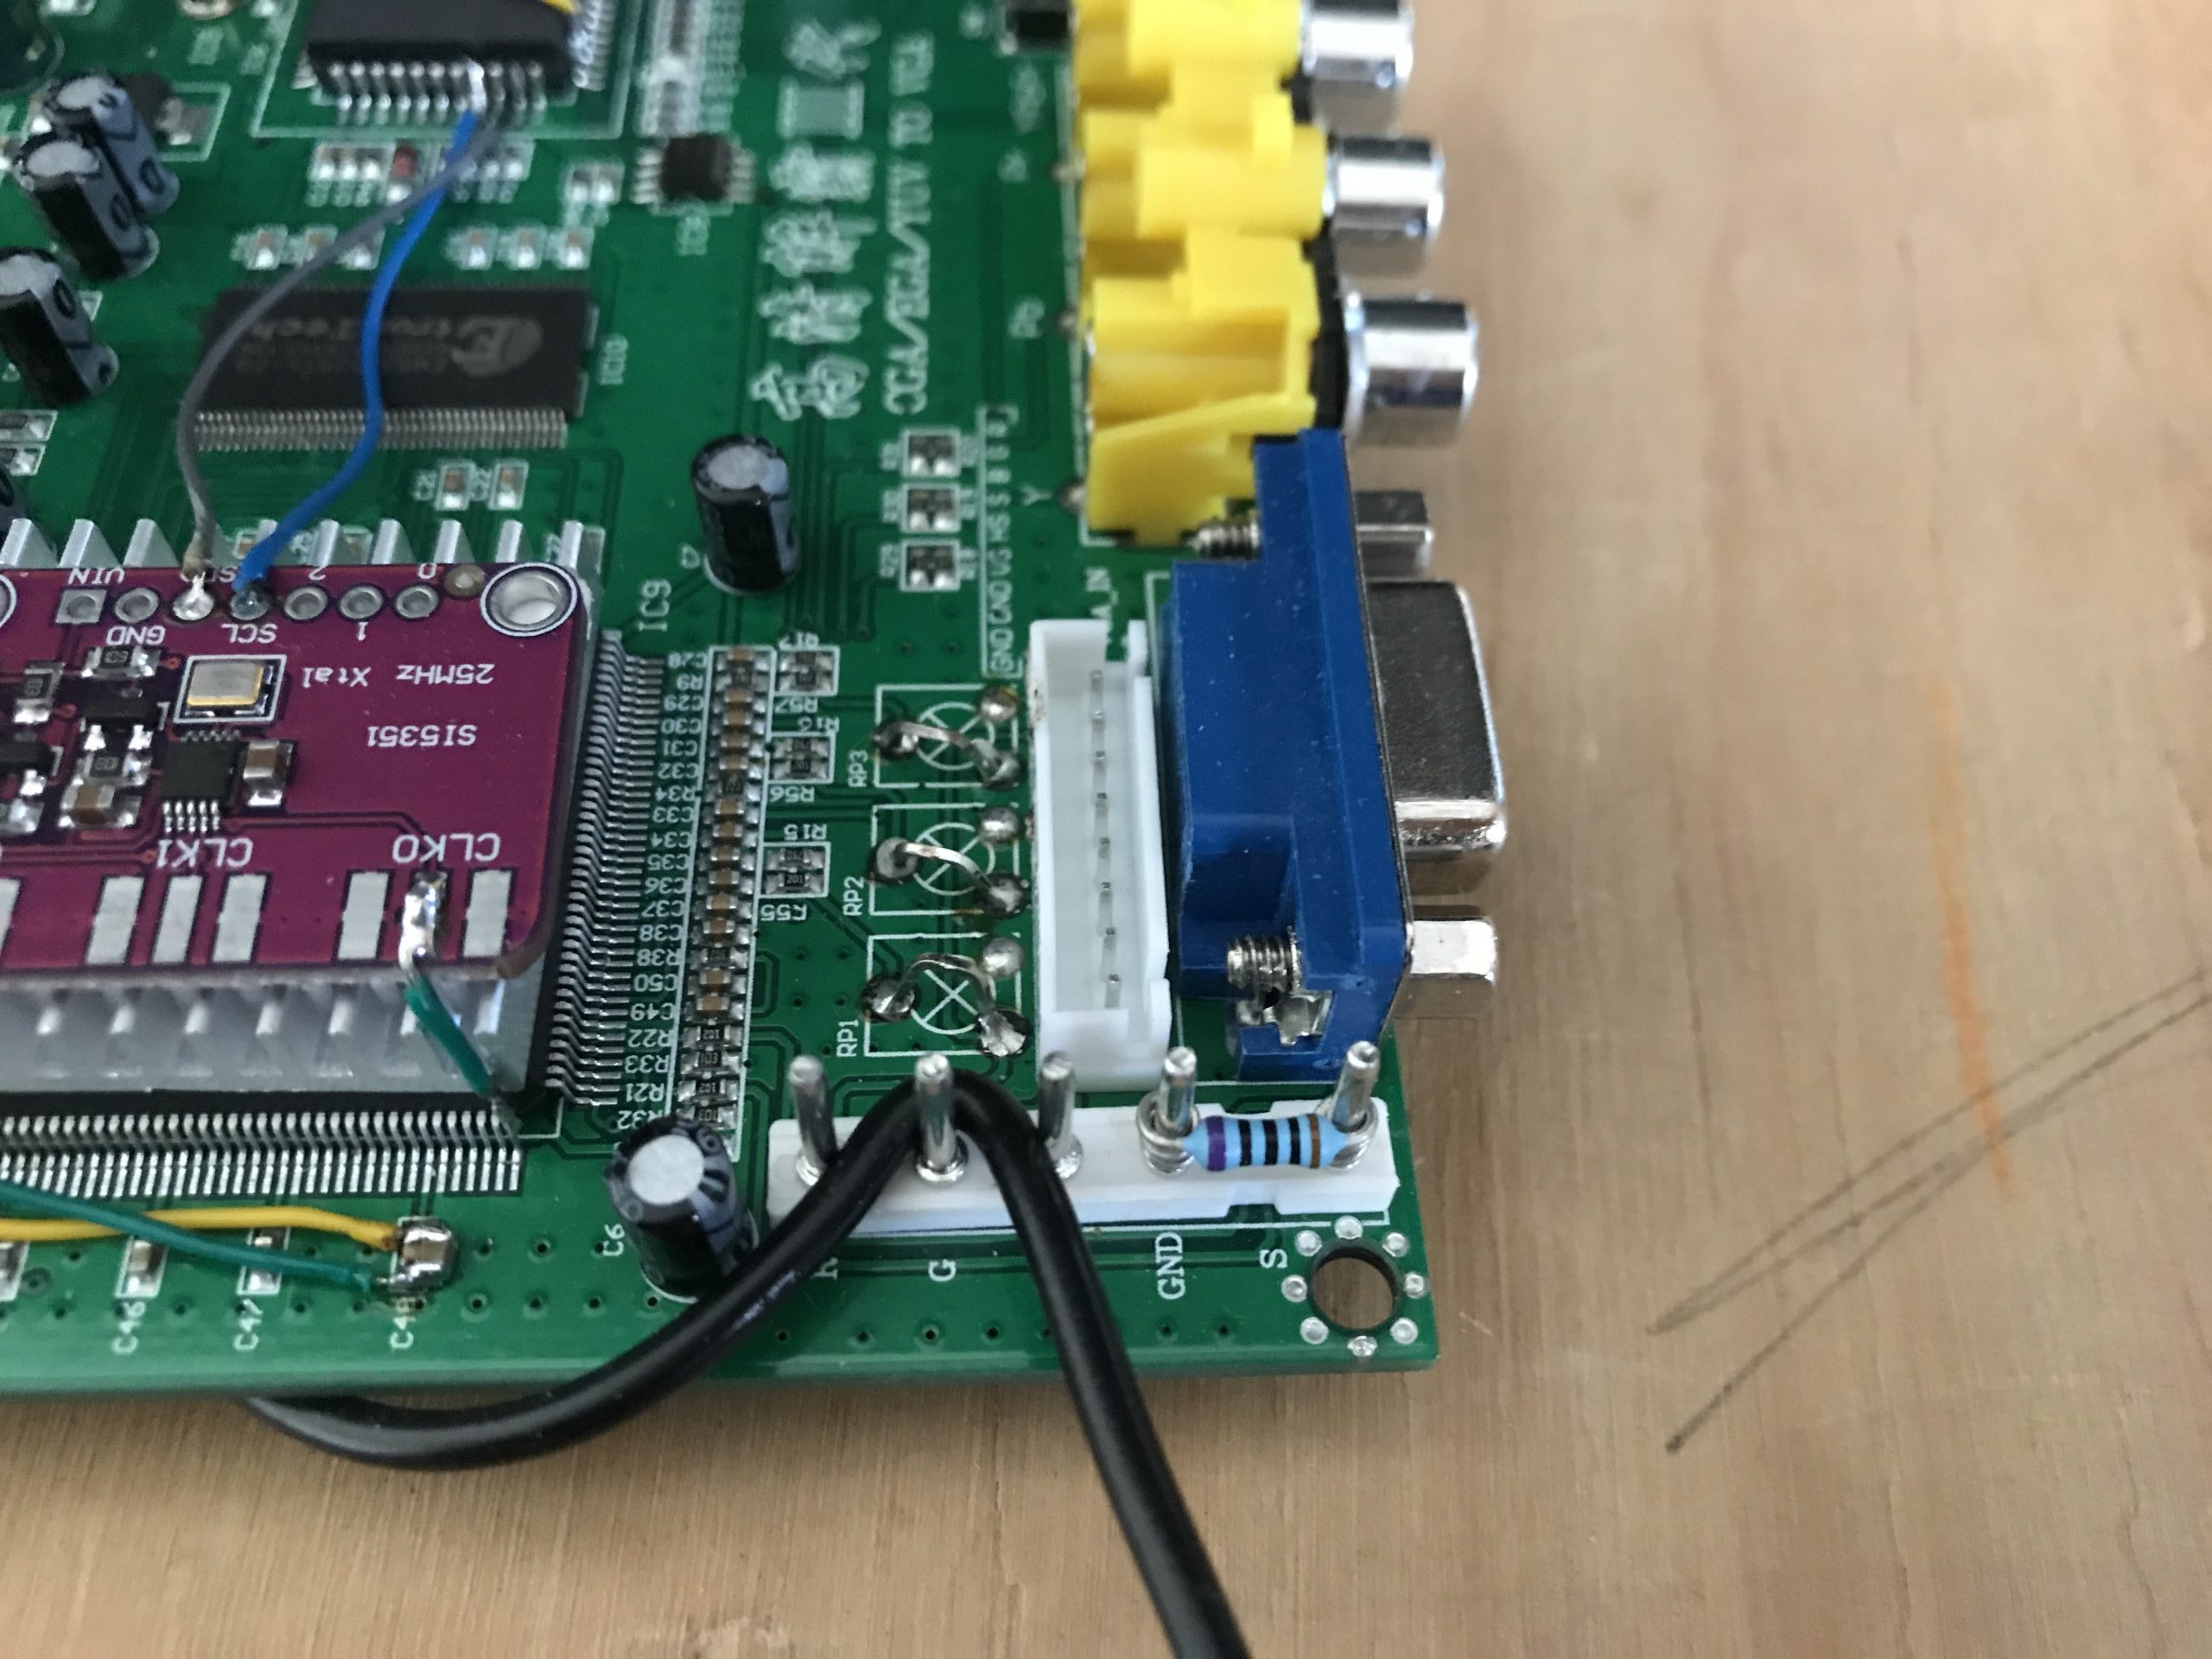


*update to show the connections to the VGA2HDMI converter
1 – 1.8v
2 – 3.3v
3 – Ground
4 – Red
5 – Green
6 – Blue
7 – H
8 – V
9 – audio
When you are finished building your GBS Control you can connect to it via wifi. SSID “gbscontrol” Password is “qqqqqqqq” When you are done open http://gbscontrol.local in a browser and you will be greeted with the WebGUI.
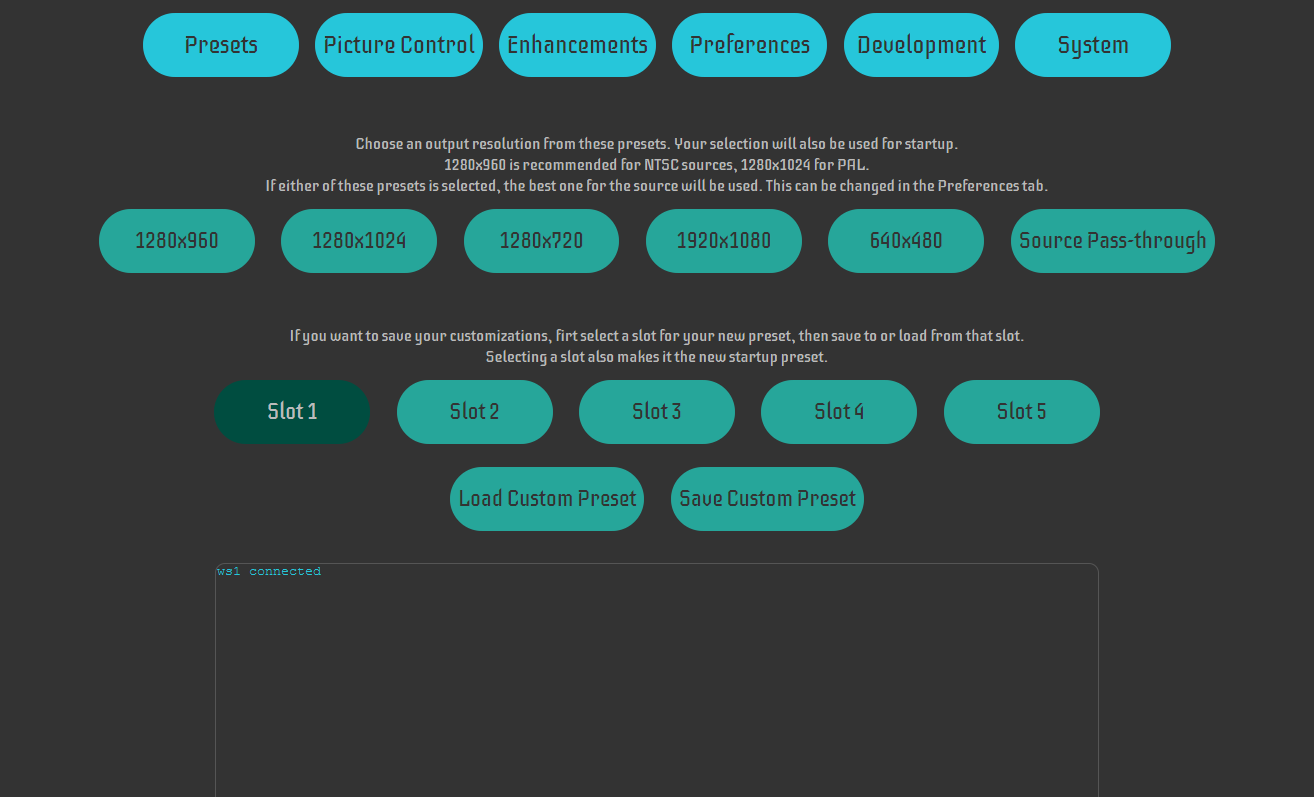
In the WebGUI, you can change all kinds of settings but to be honest for basic operating you probably don’t have to change anything.
There are some quirks though, some people have a complaint about diagonal waves on the screen. When I’m close to the TV I can sometimes see them but when running around with Sonic they are not very noticeable. I tried changing the power brick but that didn’t change much. I also added the extra capacitors this made it slightly better. Then I started messing with the settings in the WebGUI and found that if I changed “HTotal++” in the “Development” menu the waves disappeared. If you get the value from the debug window you could change this in the source code and reprogram the NodeMCU but the waves were so minimal I didn’t even bother. See below for the result;
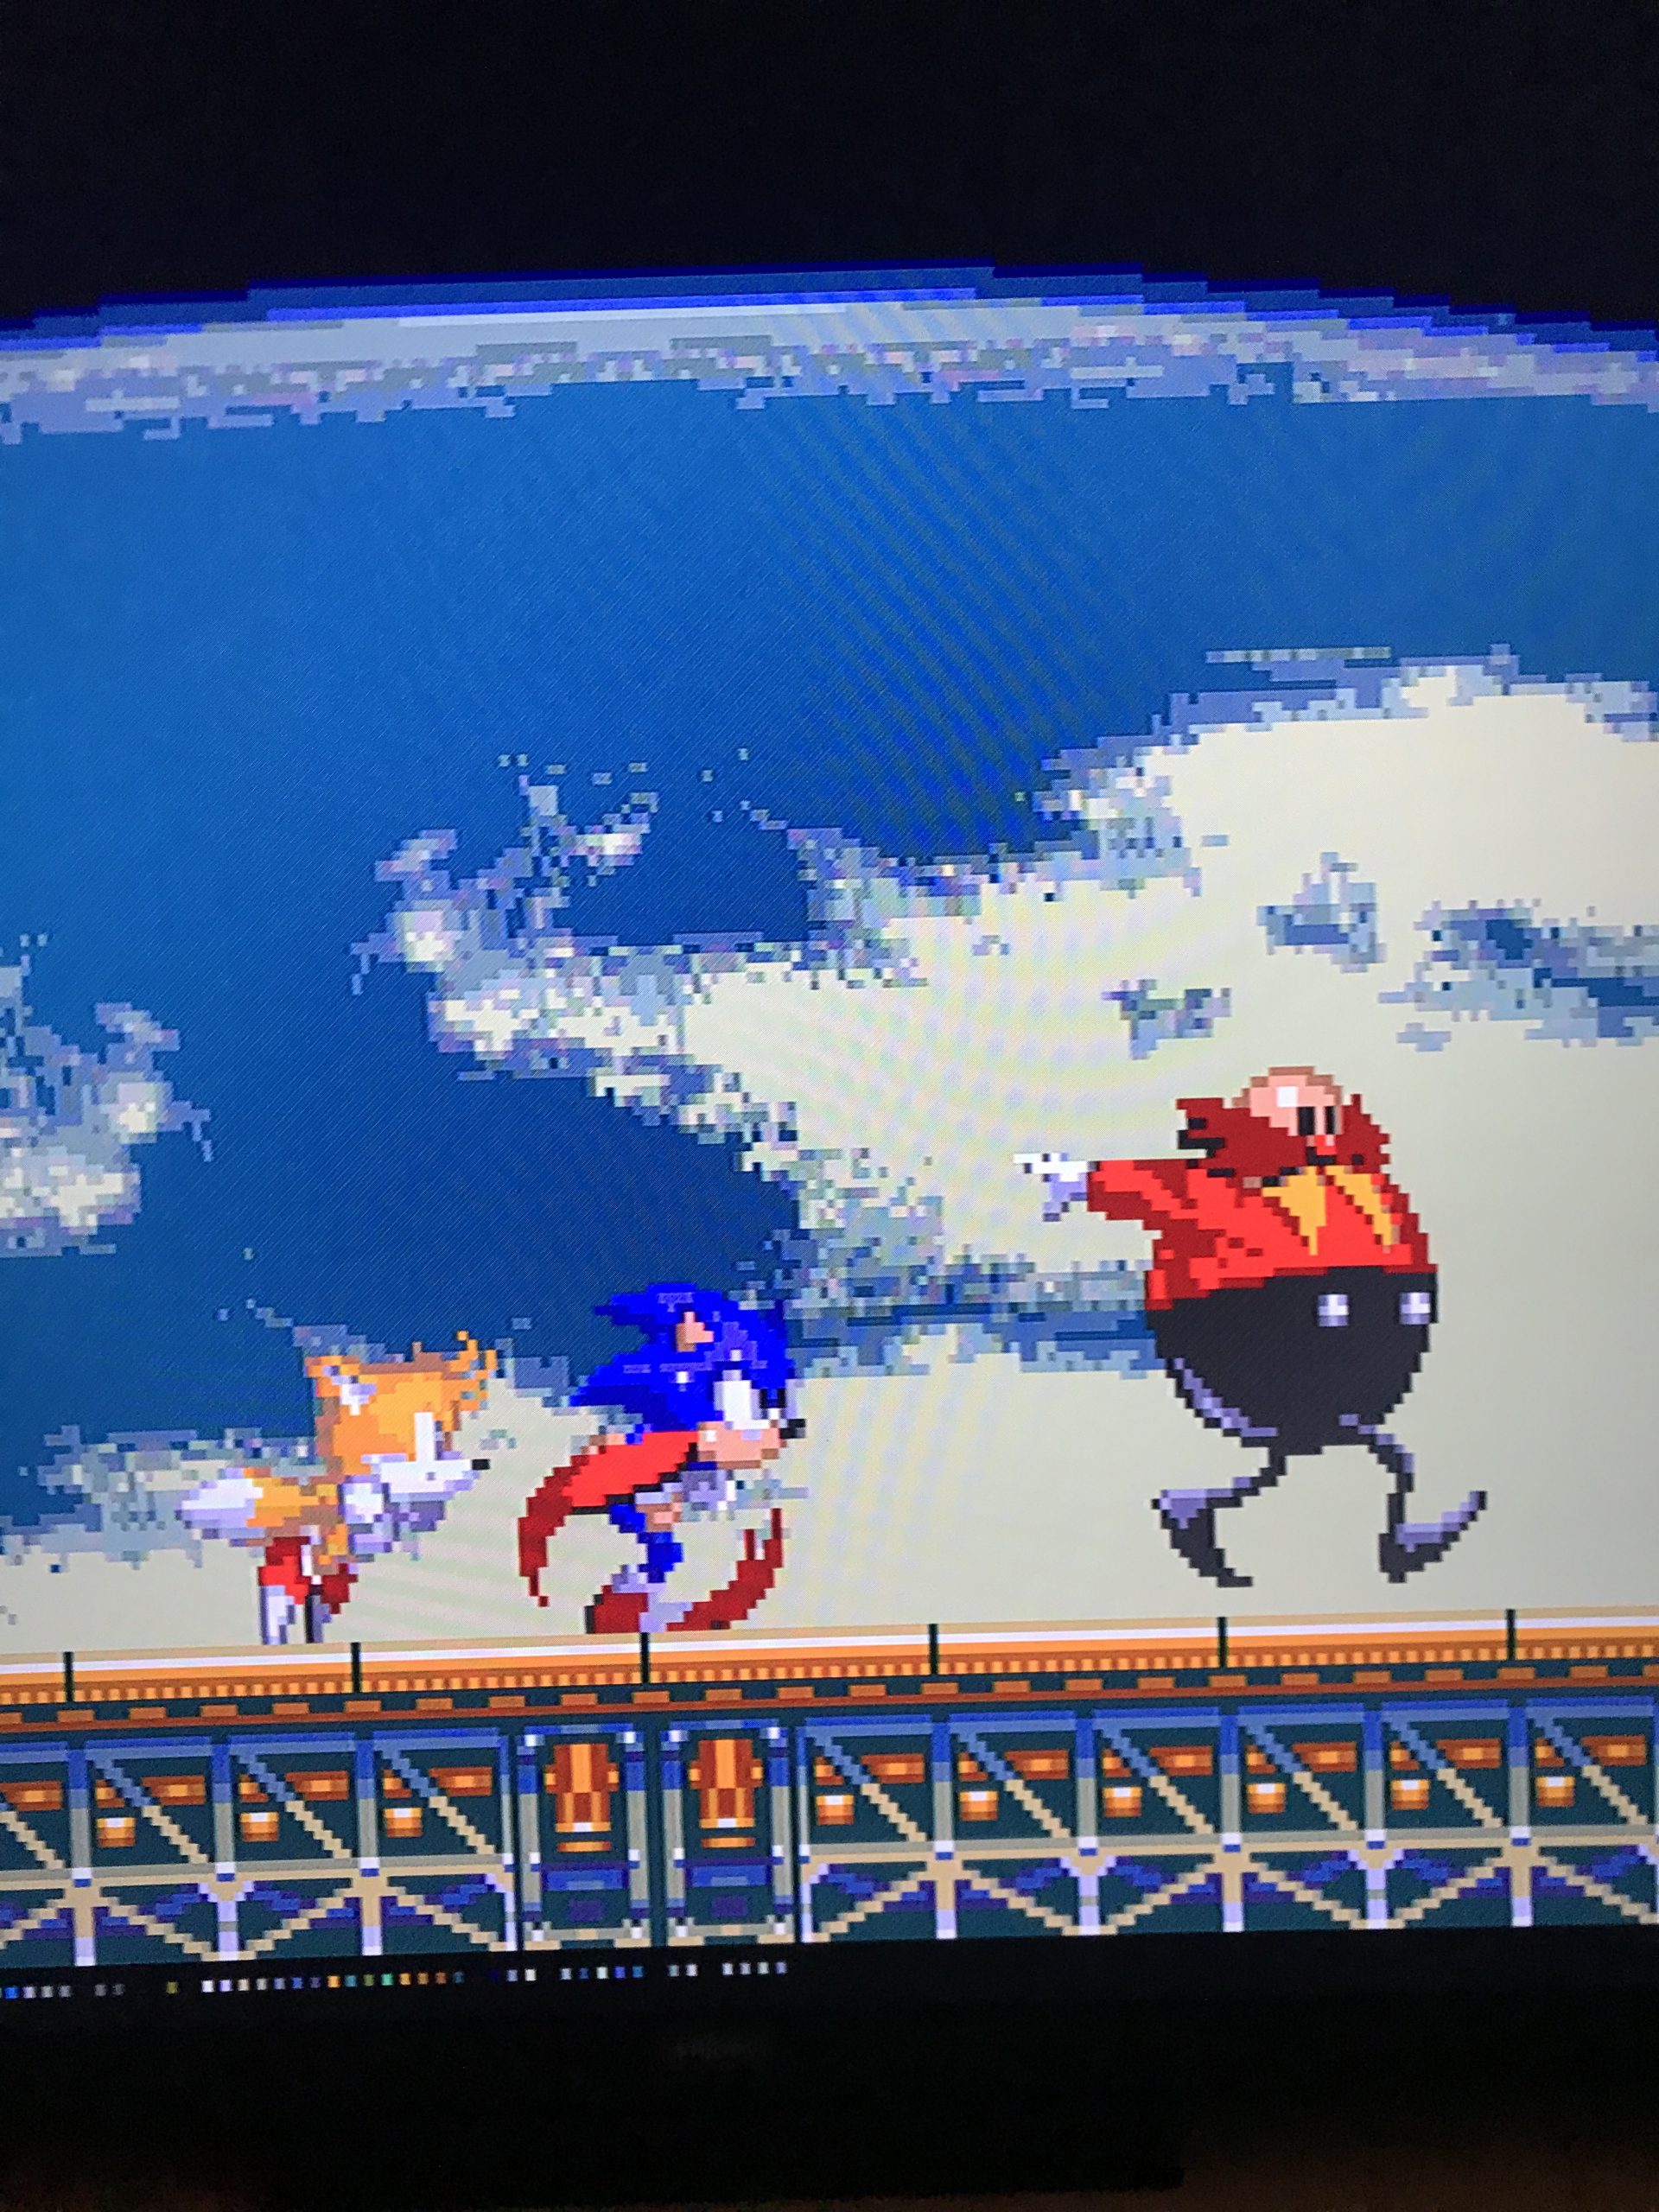
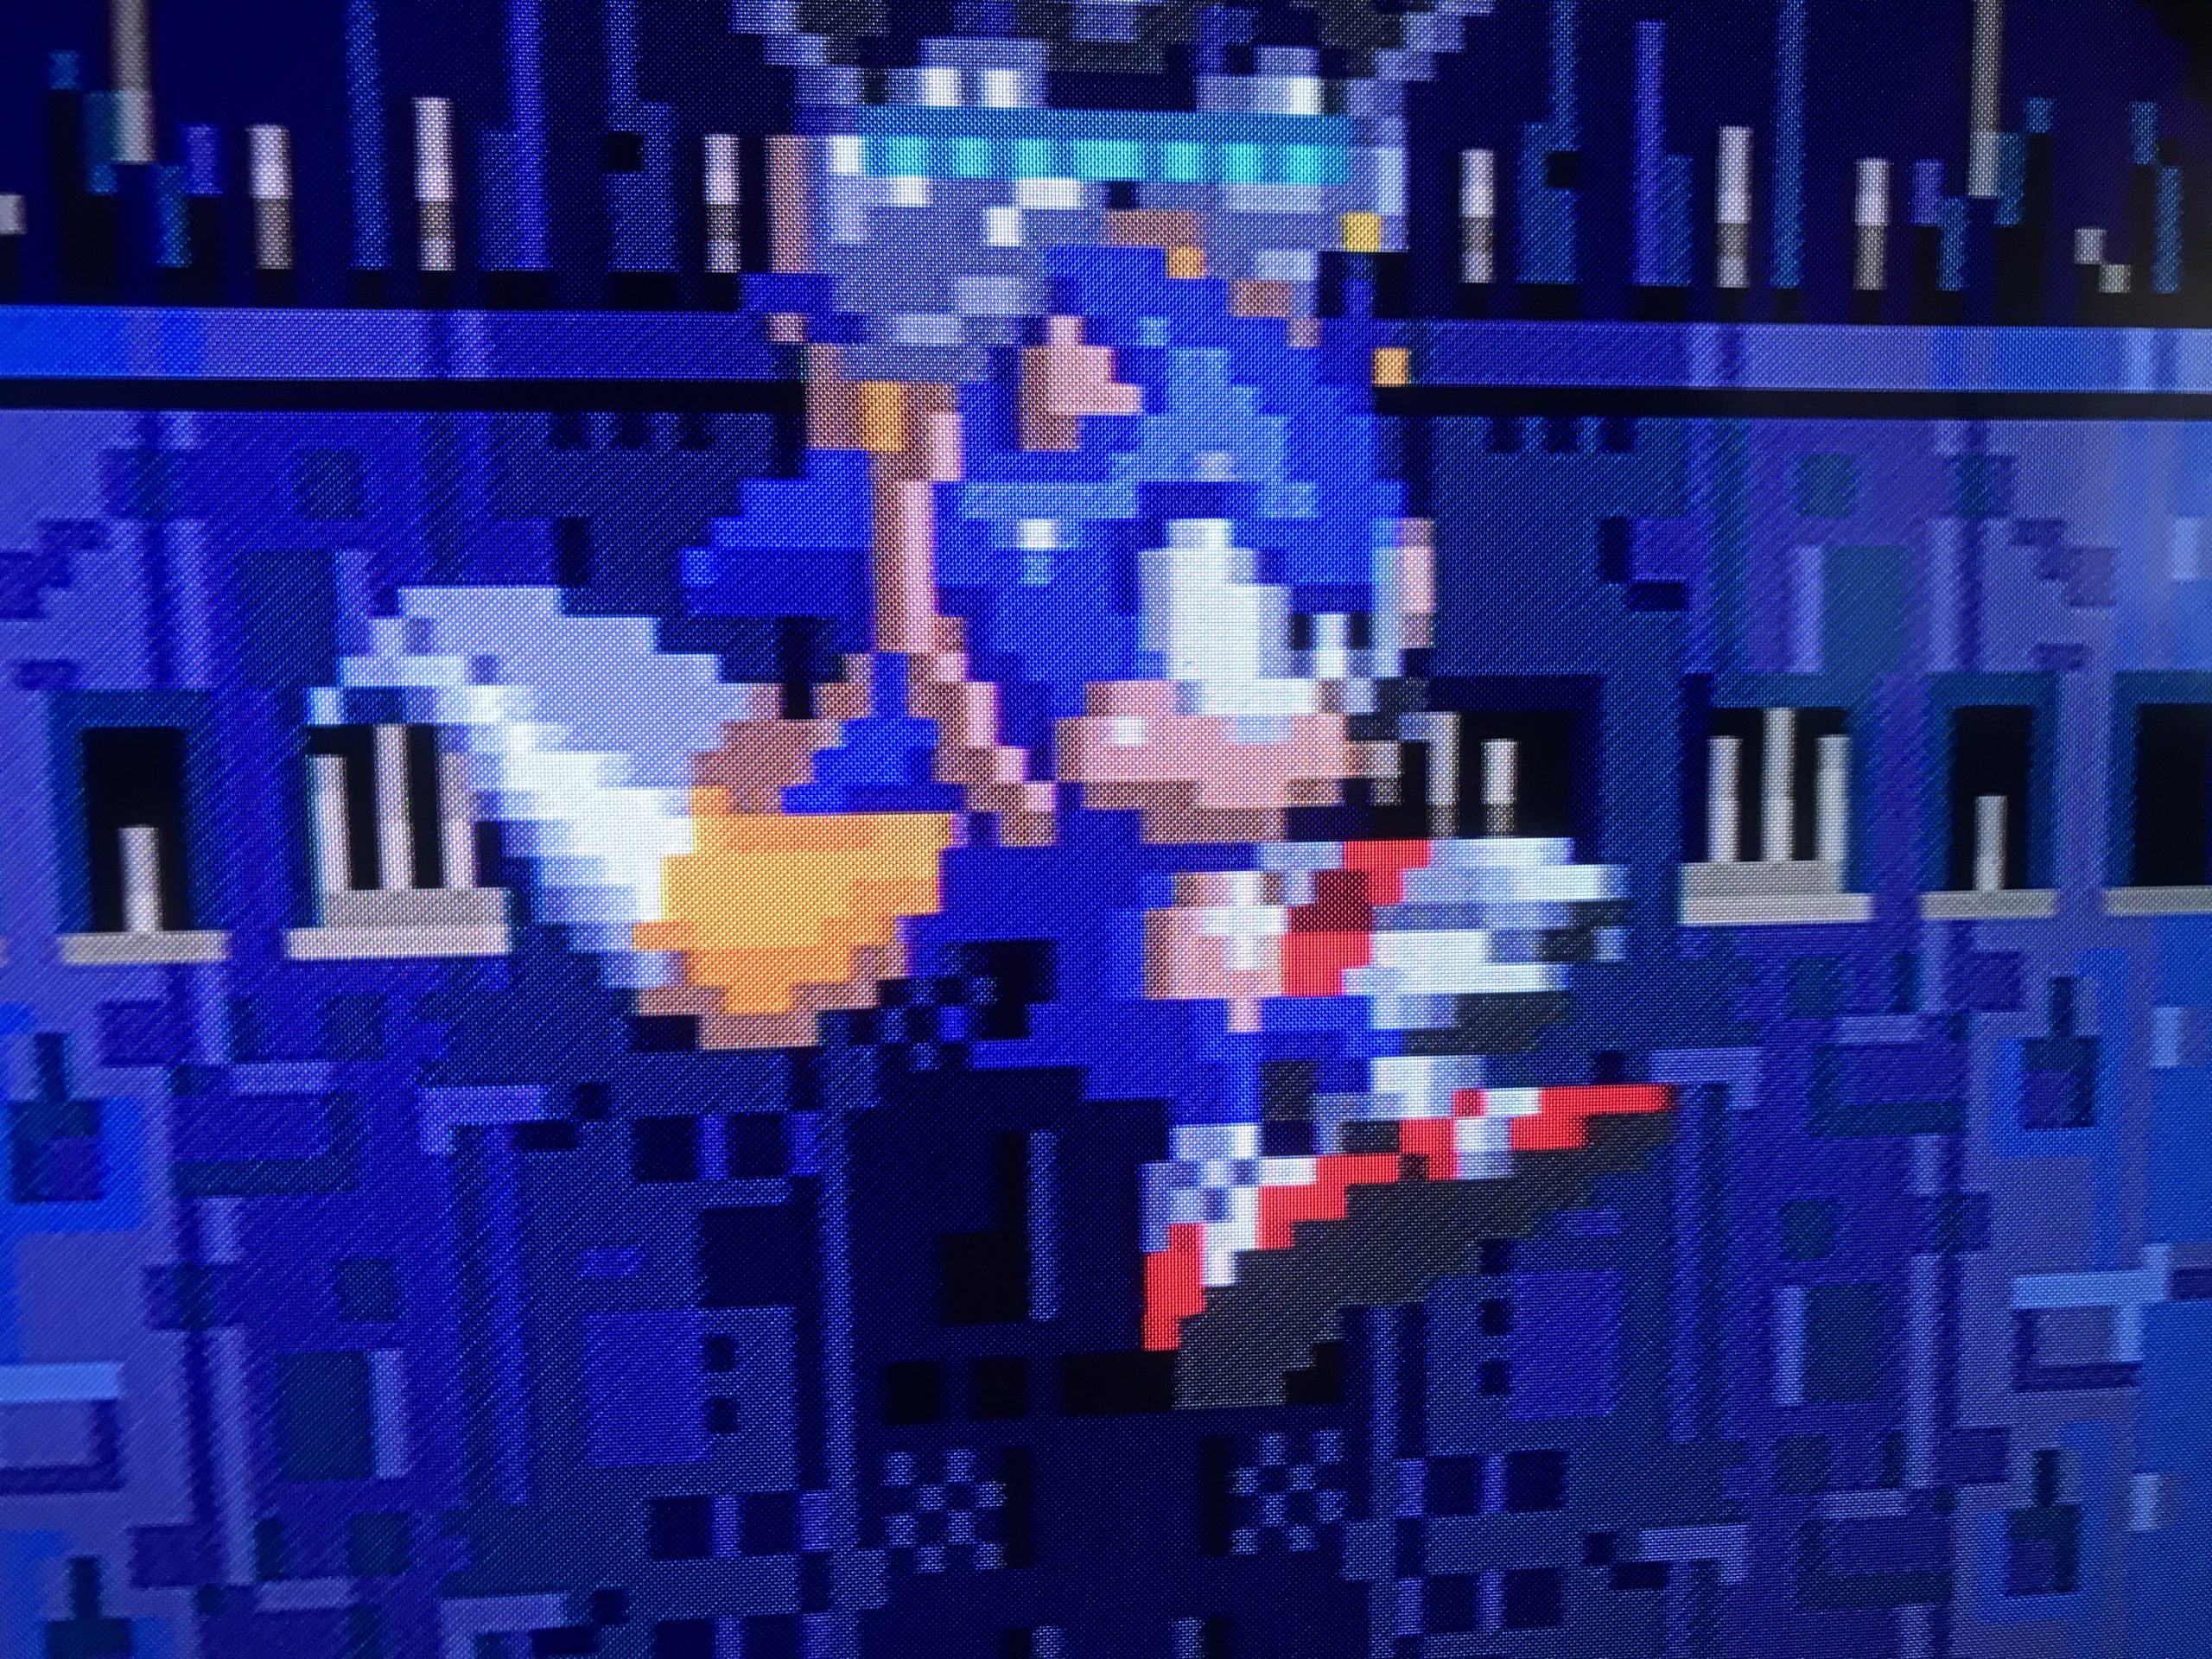
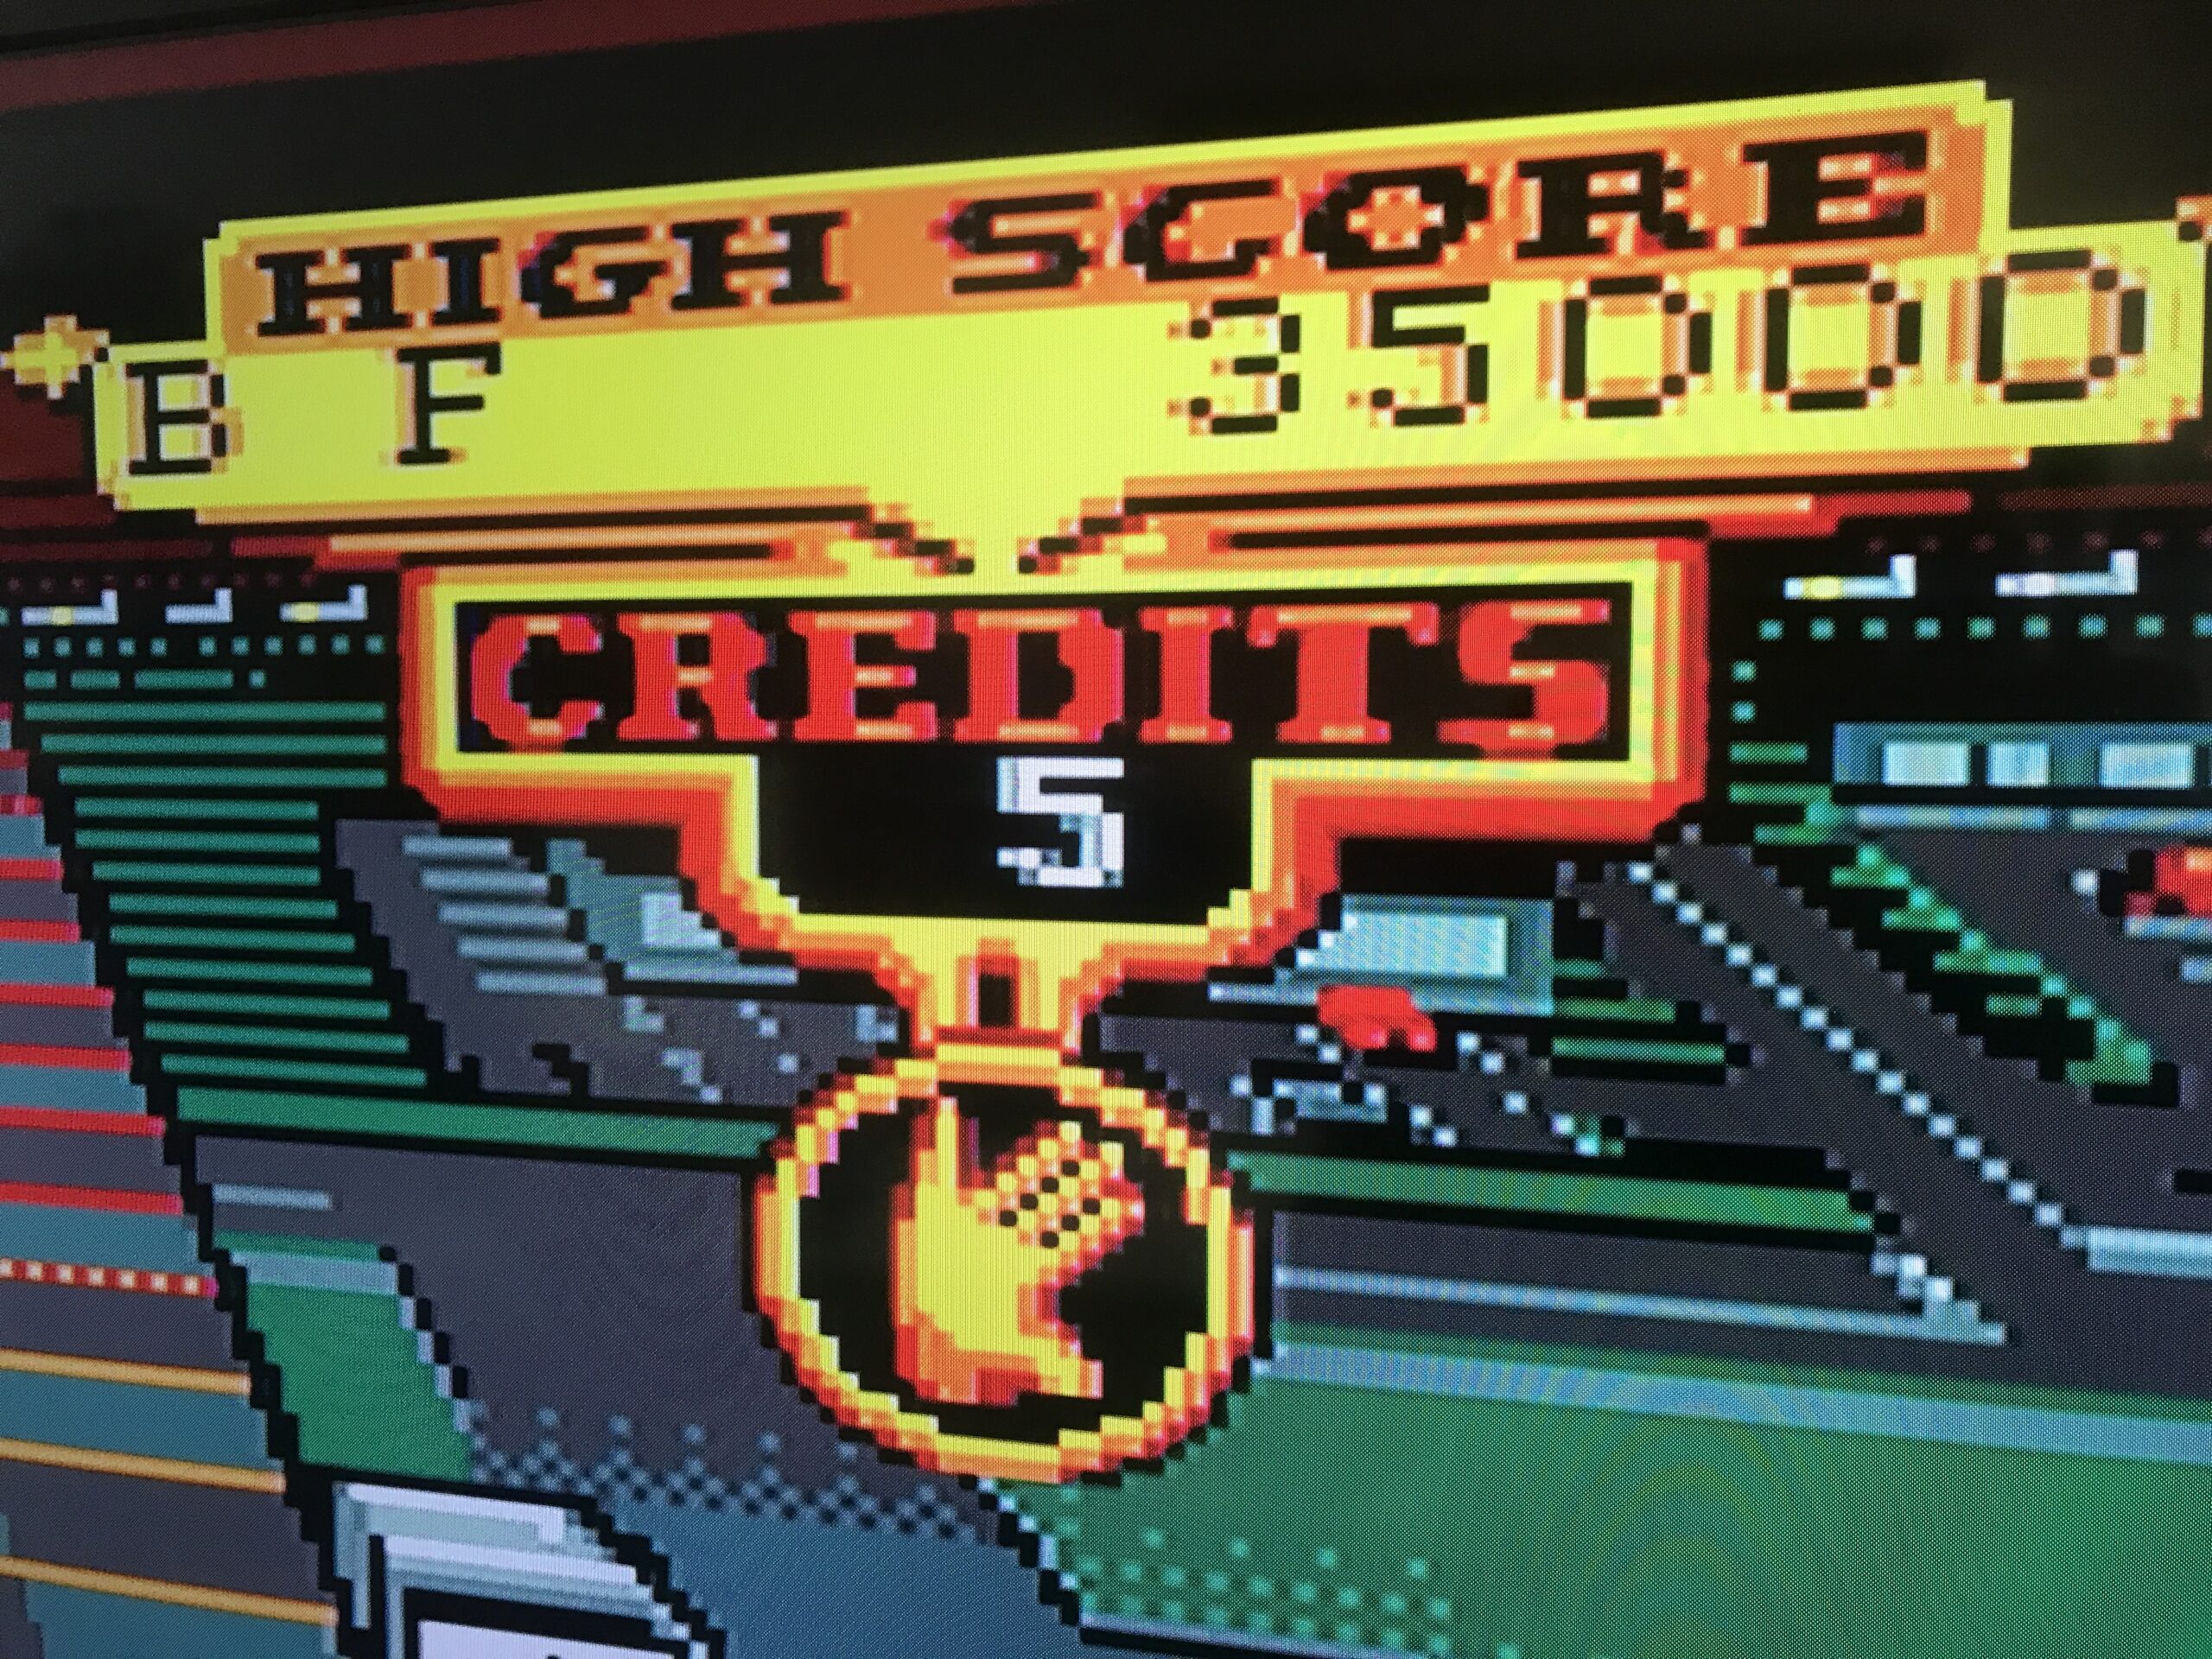
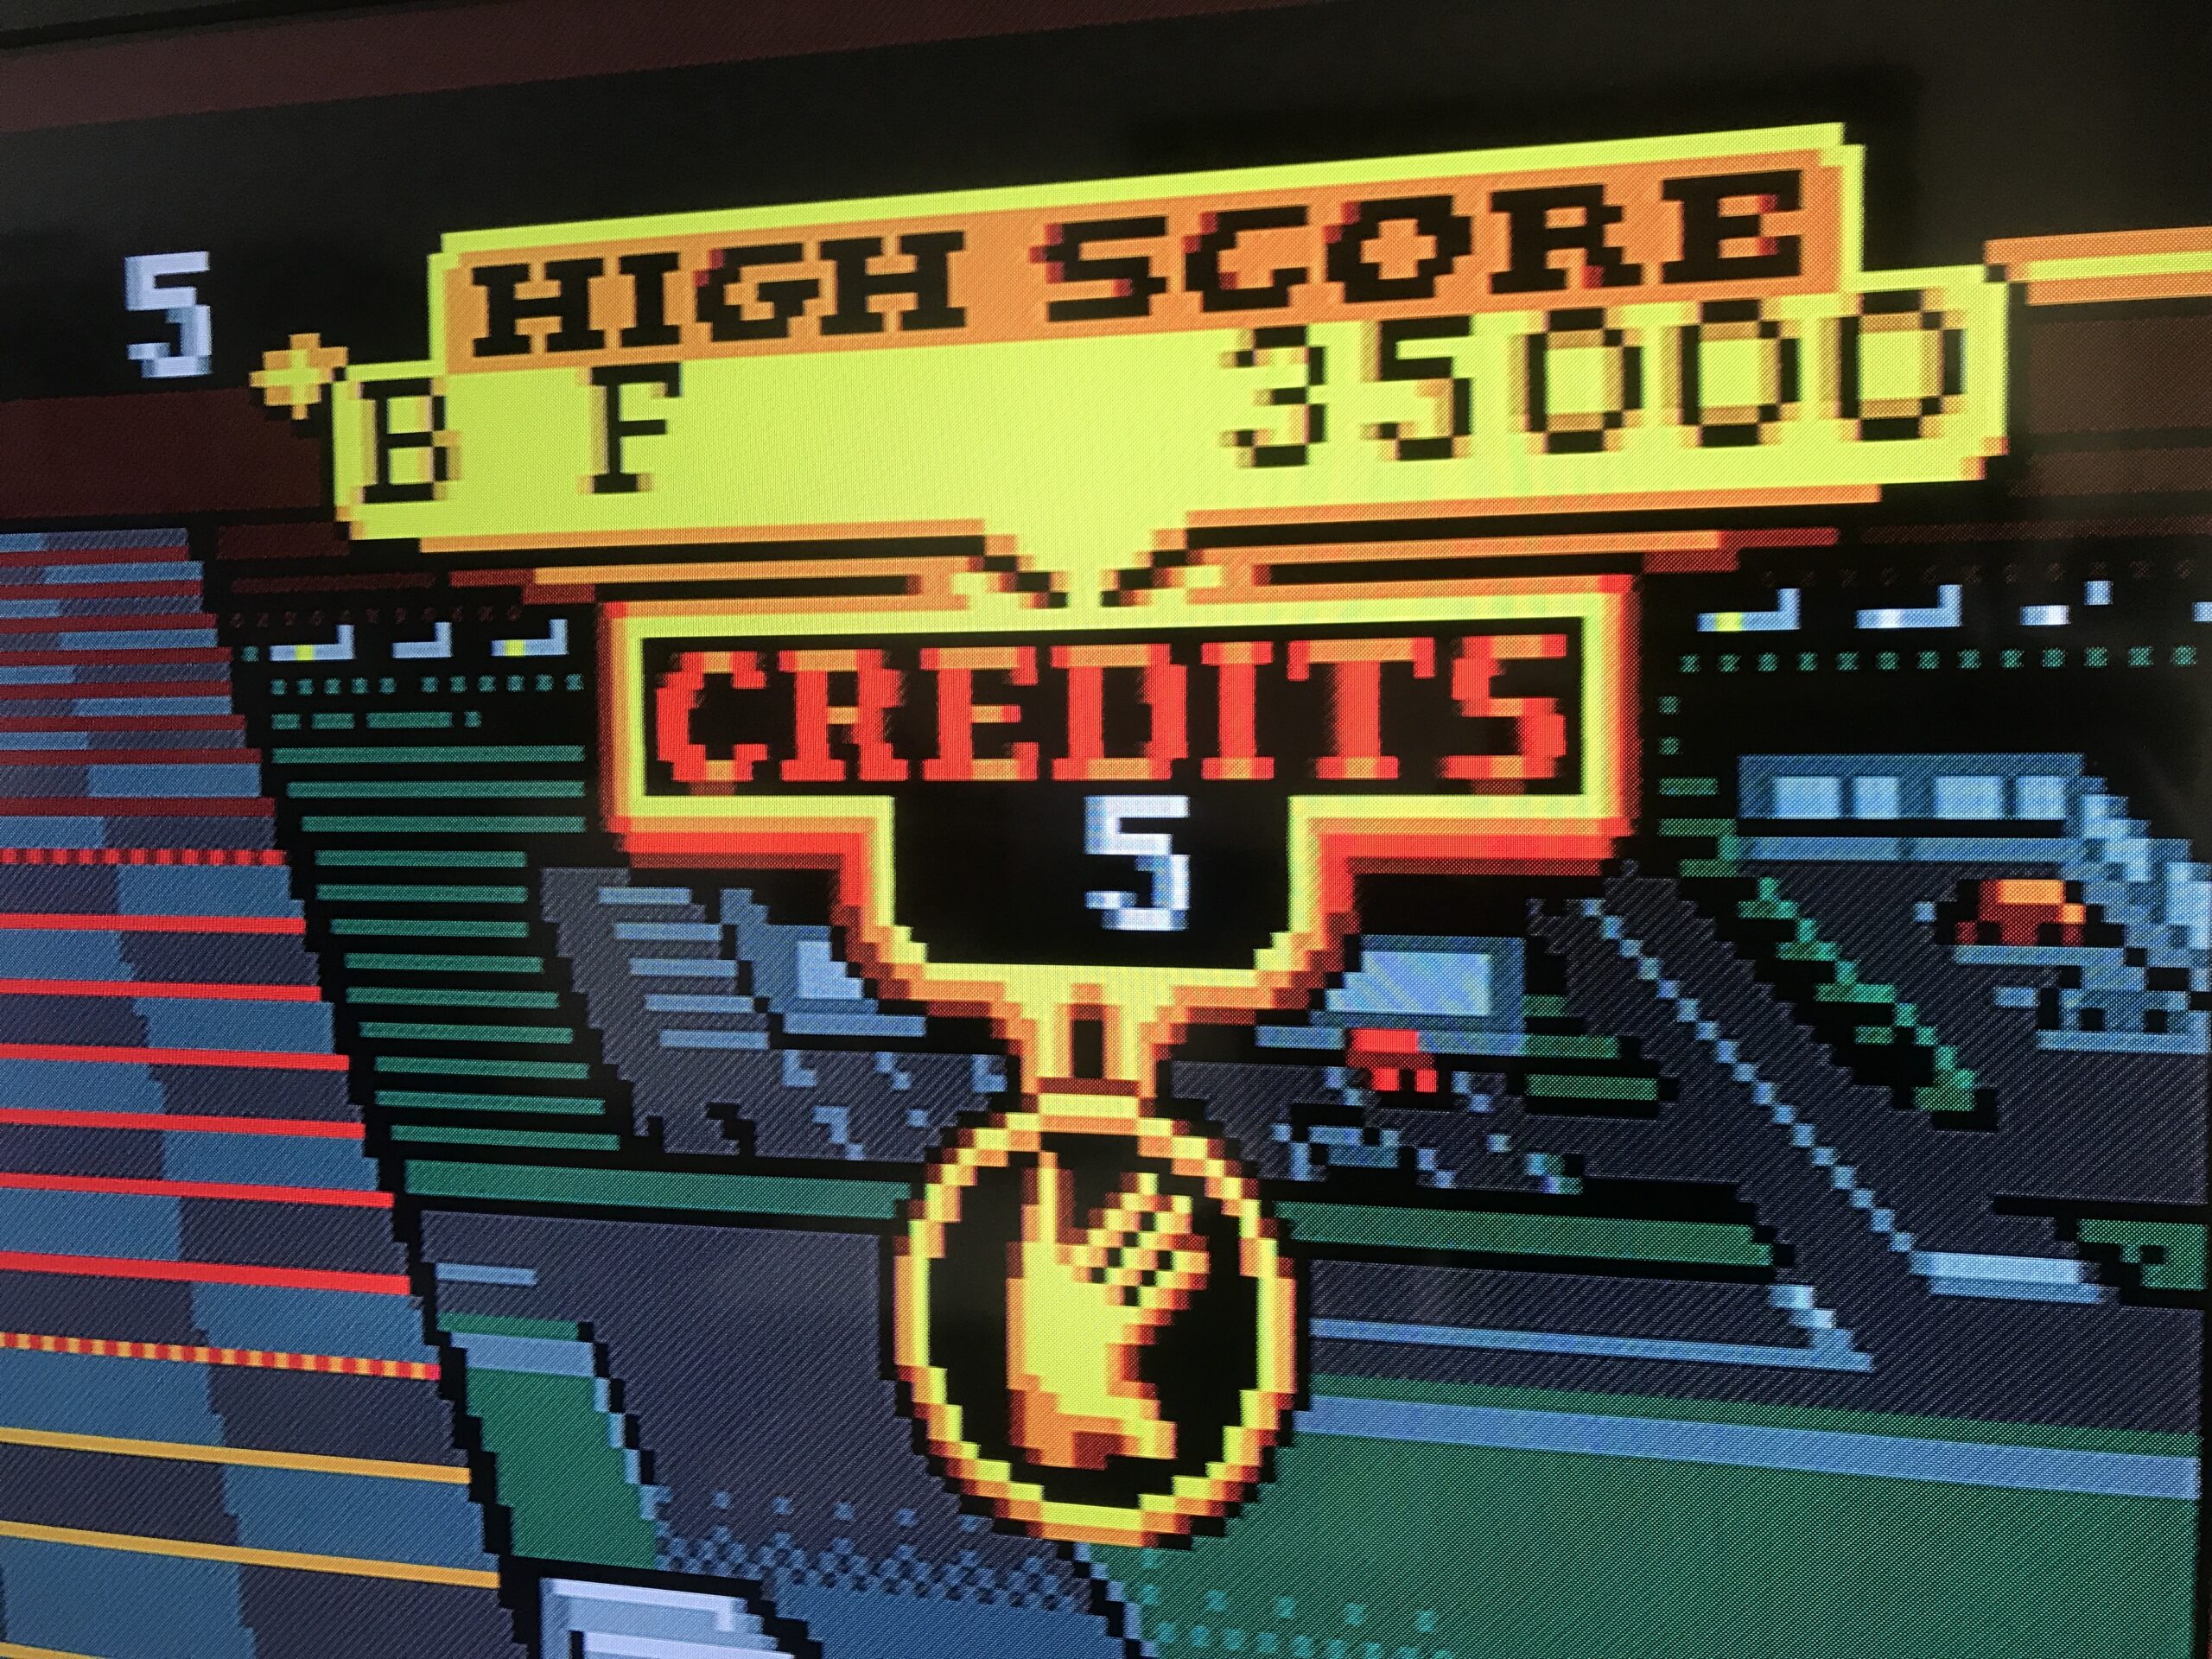
Amazing isn’t it?! I never thought I would see such a pixel-perfect Sonic! On top of that it only adds 1 frame of lag! So it will not interfere with your gameplay. Another game I like to play is KLAX, it uses bright colors and when I played this with the Composite signal it would really be an eyesore but now it’s looking so goooooood 😎🍻
-
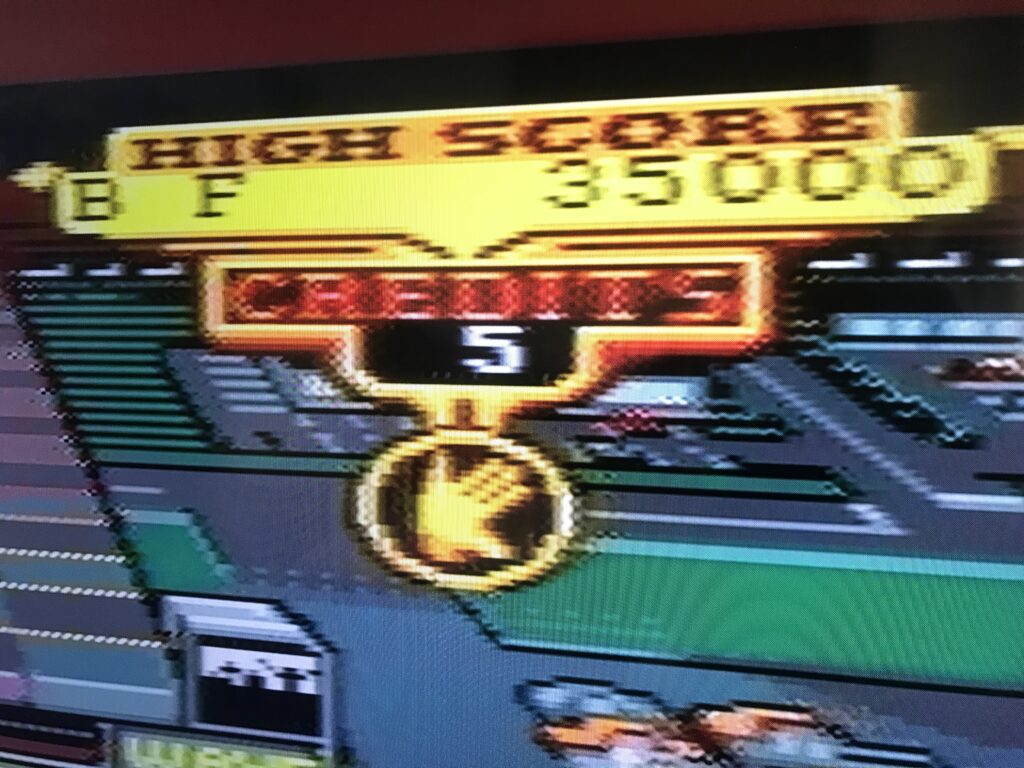
Composite -

RGB 2 Component Trancoder -
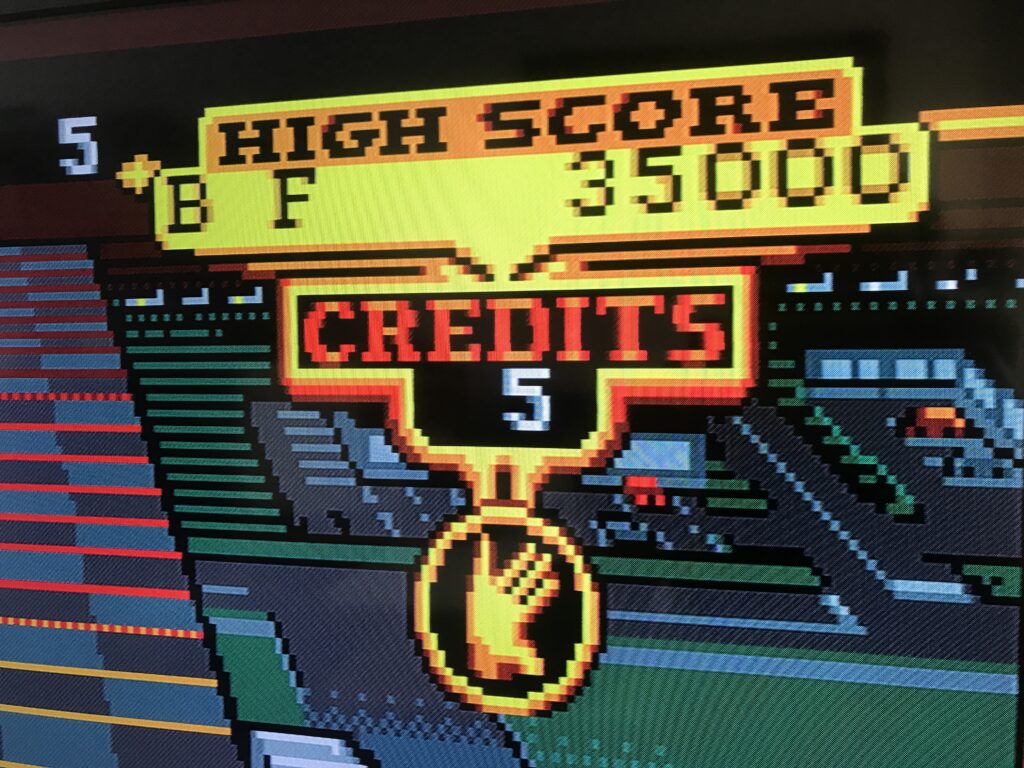
GBS 8200 Control

If you want to know a bit more about the different video signals, take a look at the post I wrote about it earlier. Also if you are curious about an even cheaper solution take a look at the RGB (SCART) to Component transcoder. Anyway 🍻 and happy gaming.