So I was asked to write a tutorial on how I created a splash screen for XBMC4Gamers. Although all the steps are here, I will add some more screenshots or maybe a screen recording to this page at a later date. Ok, it is actually pretty easy although there a quite a lot of steps, but this is how I did it;
You will need some software. For this tutorial I use freely available tools;
OpenShot for video editing -> https://www.openshot.org
Gimp for image editing -> https://www.gimp.org
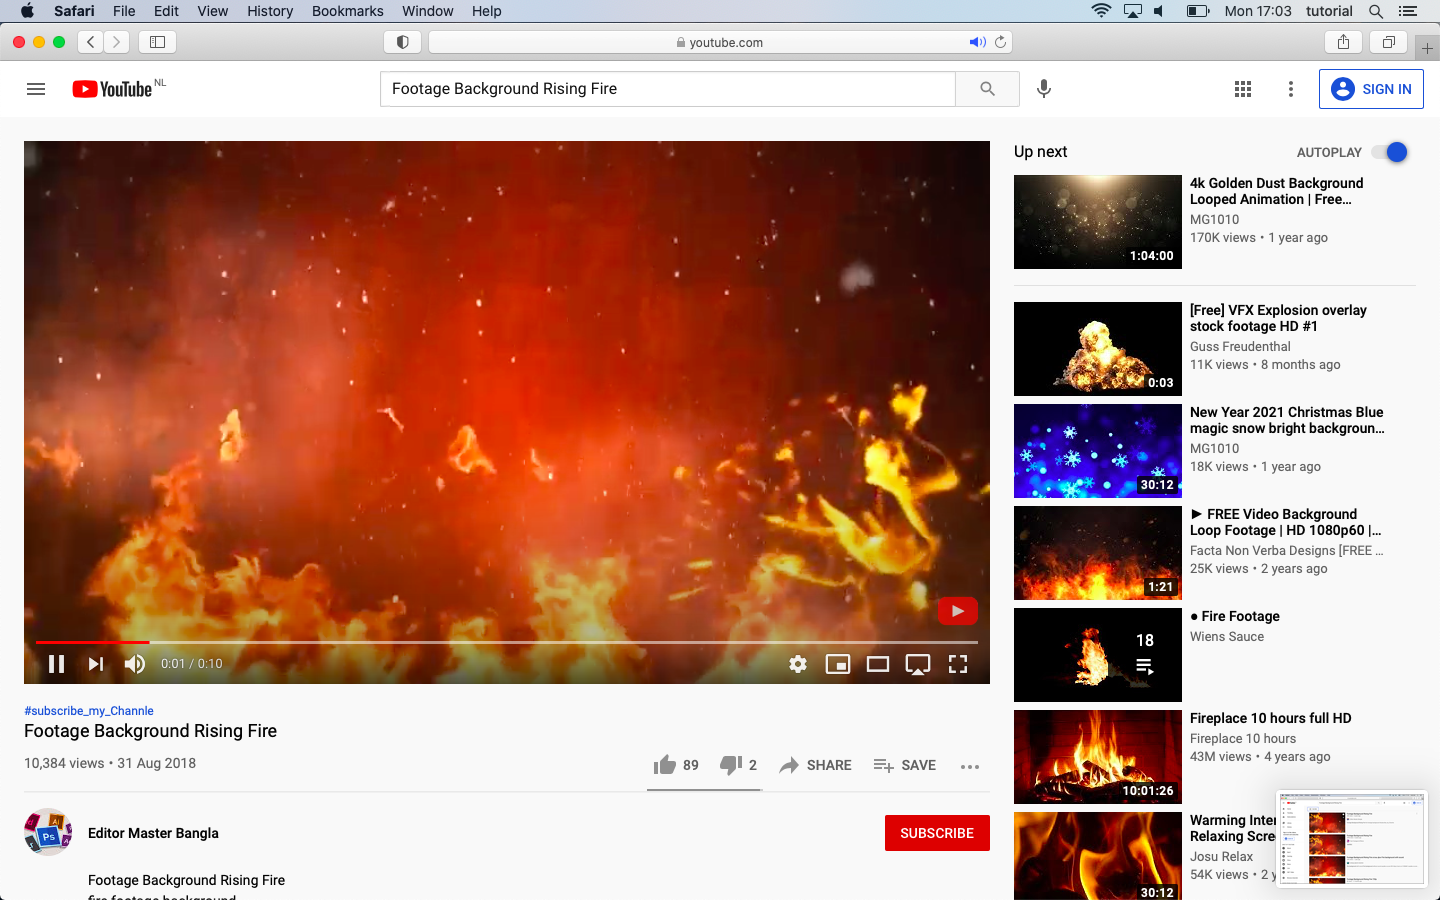
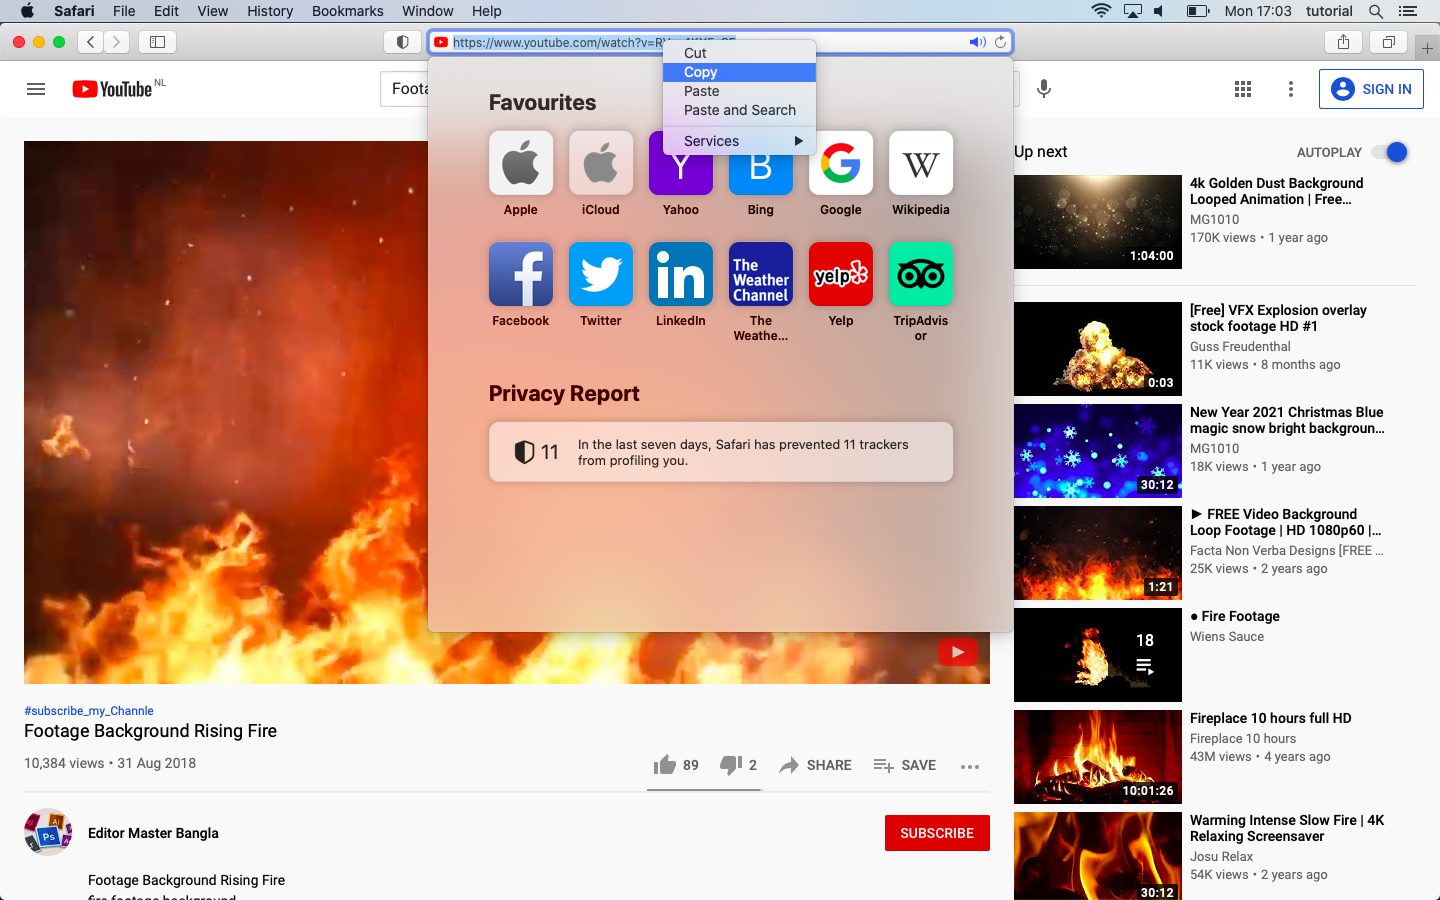
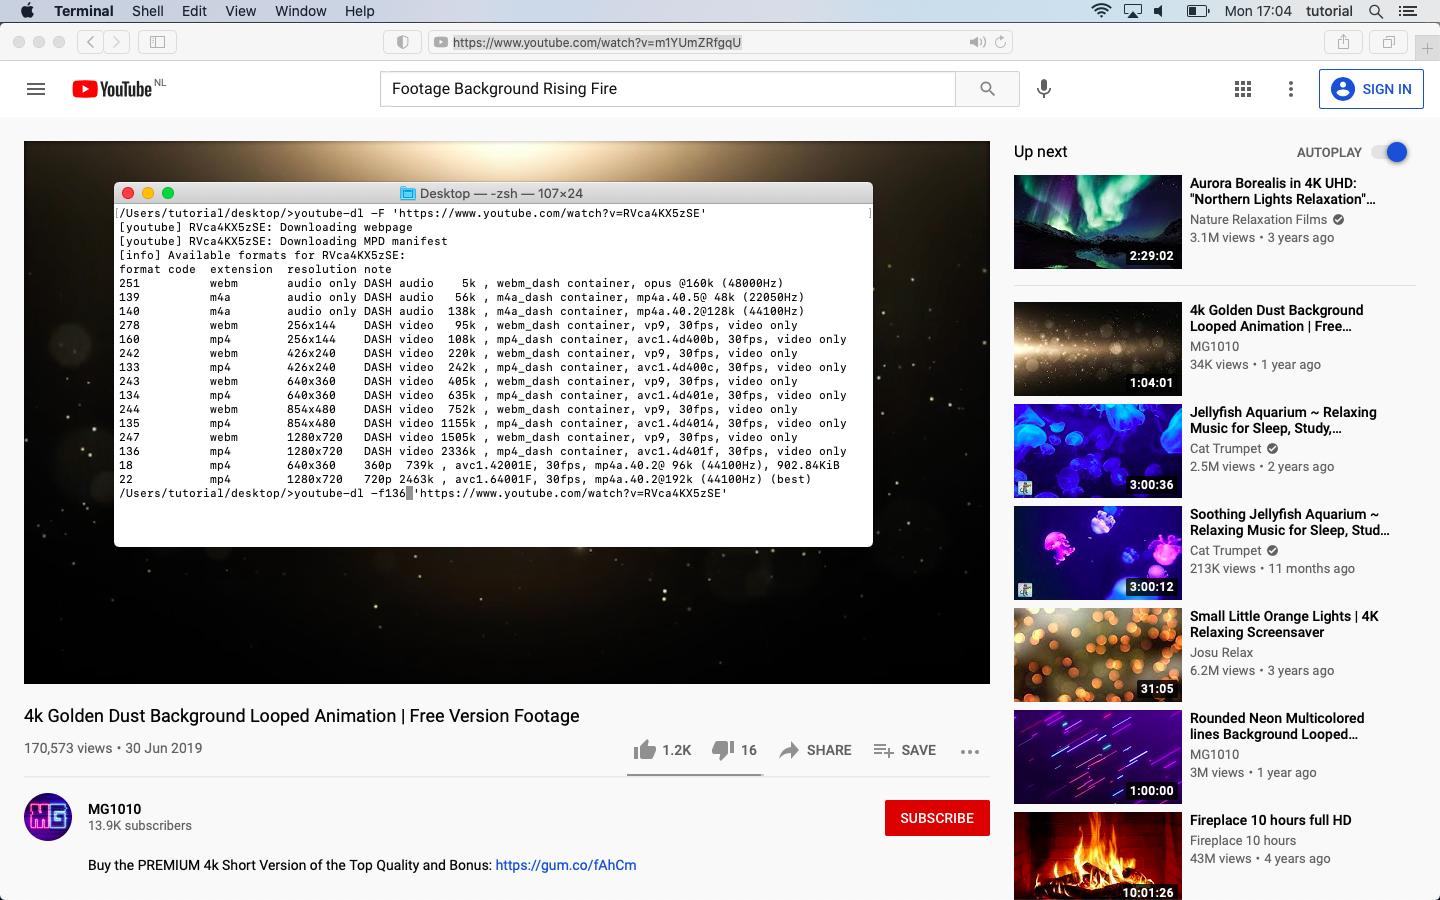
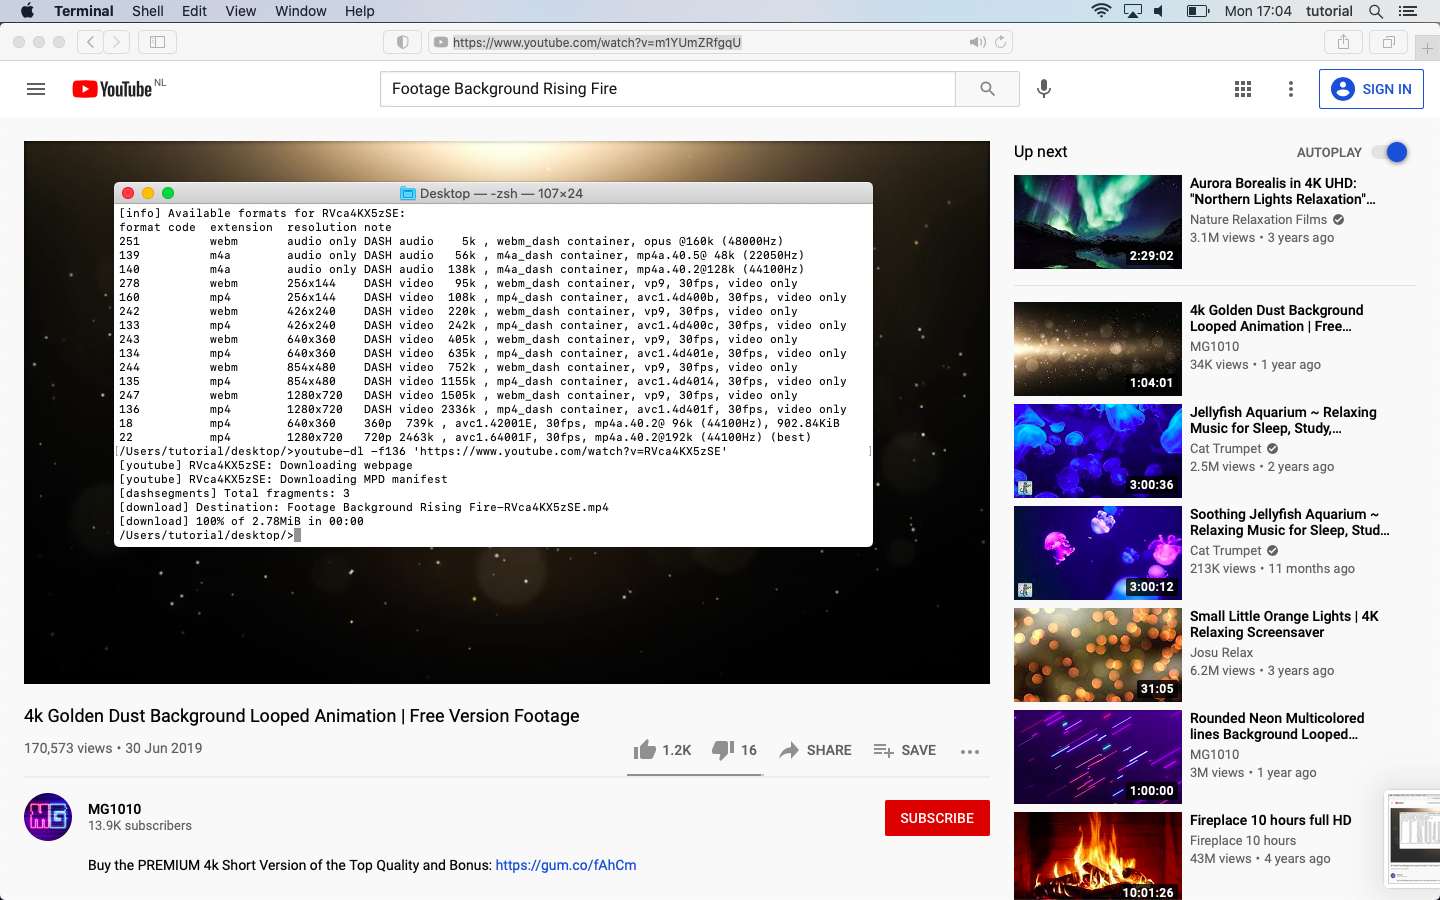
I used the following video as a background and downloaded it with youtube-dl, you can use a YouTube downloader website, just make sure you download the highest resolution and save as MP4; https://www.youtube.com/watch?v=y_zgJjfr-Eo
And I found a nice Original XBOX logo on a transparent background at Reddit; https://www.reddit.com/r/originalxbox/comments/dfqhia/i_made_a_transparent_variation_of_the_logo/
https://i.imgur.com/DNXWFzz.png”

You will also need the XBOX font. It’s called XBOLD;
https://fonts2u.com/xbold.font
Now initially I made this splash video with iMovie which has an excellent green screen option. As I never used OpenShot or Gimp, I had to work around OpenShot’s chroma key filter. I found that using a PNG image with transparent parts works just as good, it’s just a couple of more editing steps….
To make the splash intro we are going to edit the image. Let’s open Gimp;
-open the xbox logo “DNXWFzz.png”
the image is to big for what we need, so let resize it.
-choose “image” and “scale image”
-change width to 1000 and click scale
-now use the “zoom” tool to zoom in a little
-choose “image” -> “mode” -> “greyscale”
-choose “rectangle select tool” and select the XBOX text at the bottom
-choose “edit” and “clear” to delete the text
-choose “file” -> “save” (let’s name it greyscale_temp)

-“fuzzy select tool” click on the transparent part of the image
-“select” -> “invert”
-“edit” -> “clear”
-“select” -> “invert”
-“bucket fill tool” -> make the transparent part black
-choose “rectangle select tool” and select the bottom
-“edit” -> “clear”
-“select tool” and create a box for the text
-“fuzzy select tool” click on the transparent part of the image don;t forget to select the inside of the B, A and R (holding the shift button)
-“select” -> “invert”
-“edit” -> “clear”
-“select” -> “invert”
-“bucket fill tool” -> make the transparent part black
We are left with a transparent border around the text, this needs to go, select the first layer (on your right)
-use the “rectangle select tool” and select transparent parts (holding the shift button)
–“bucket fill tool” -> make the transparent part black
Now create a new image, with 1920 height 1080
Create a new layer
Delete the background layer
Go back to your other image
-select the top layer, right click and select “merge visible layers”
-choose “merge”
-“select” -> “all”
-“edit” -> “copy”
Go back to our new image
-“edit” -> “paste”
-“bucket fill tool” -> make the transparent part black
-“file” -> “export” export your file as PNG (I named it transparent.png)
![]()
Open the temporary file we save earlier (greyscale_temp)
-“select” -> “all”
-“edit” -> “copy”
Go back to our transparent.png
-“edit” -> “paste”
-“file” -> “export” export your file as PNG (I named it texture.png)

We are finished with image editing so close Gimp and open OpenShot.
Drag & drop the flame background video onto track 1
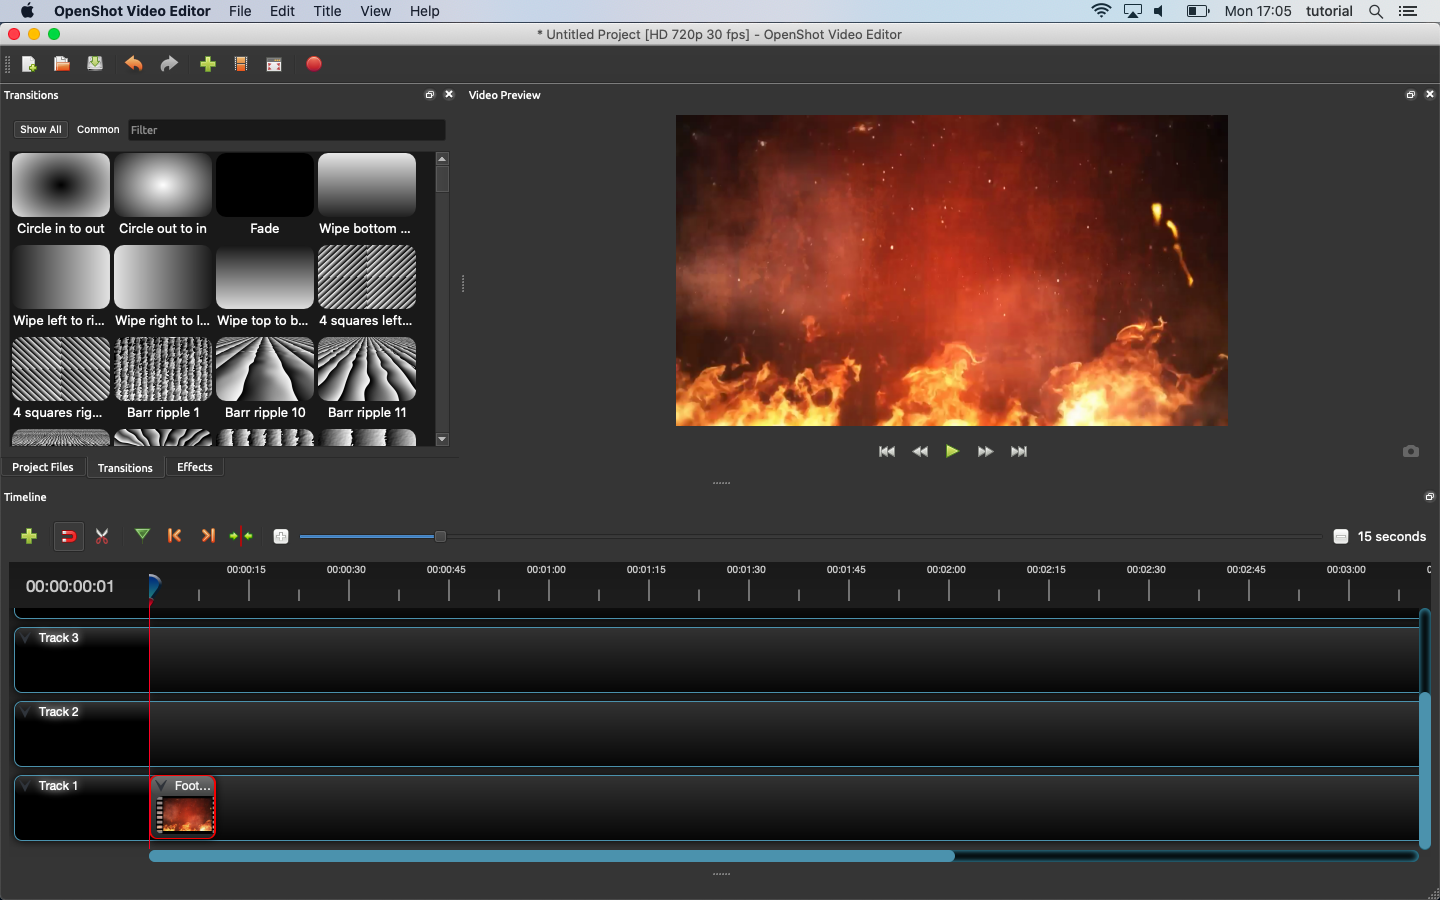
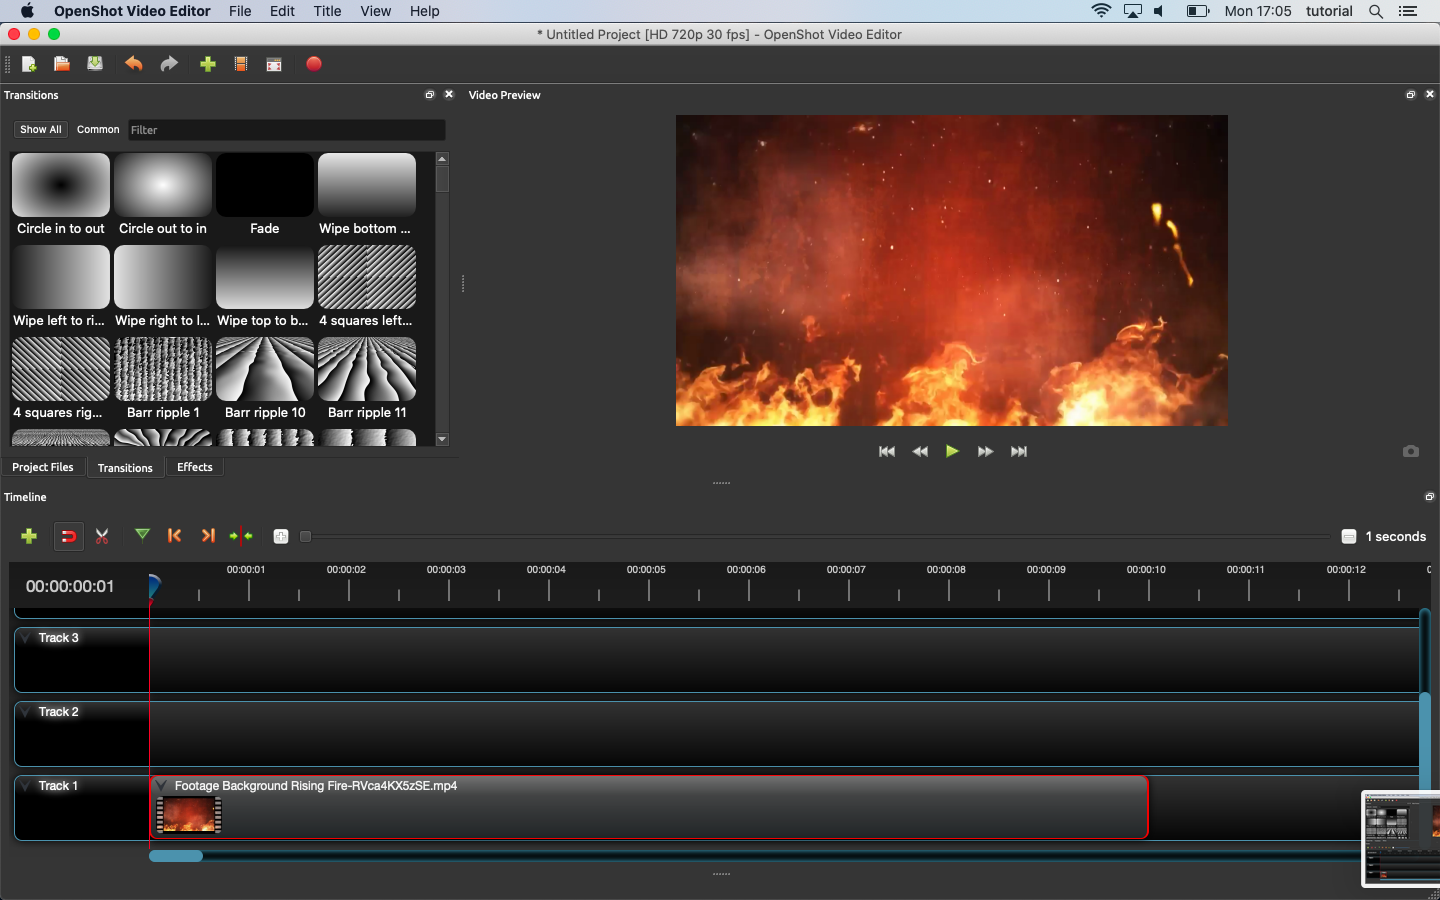
Zoom in with the “plus” sign
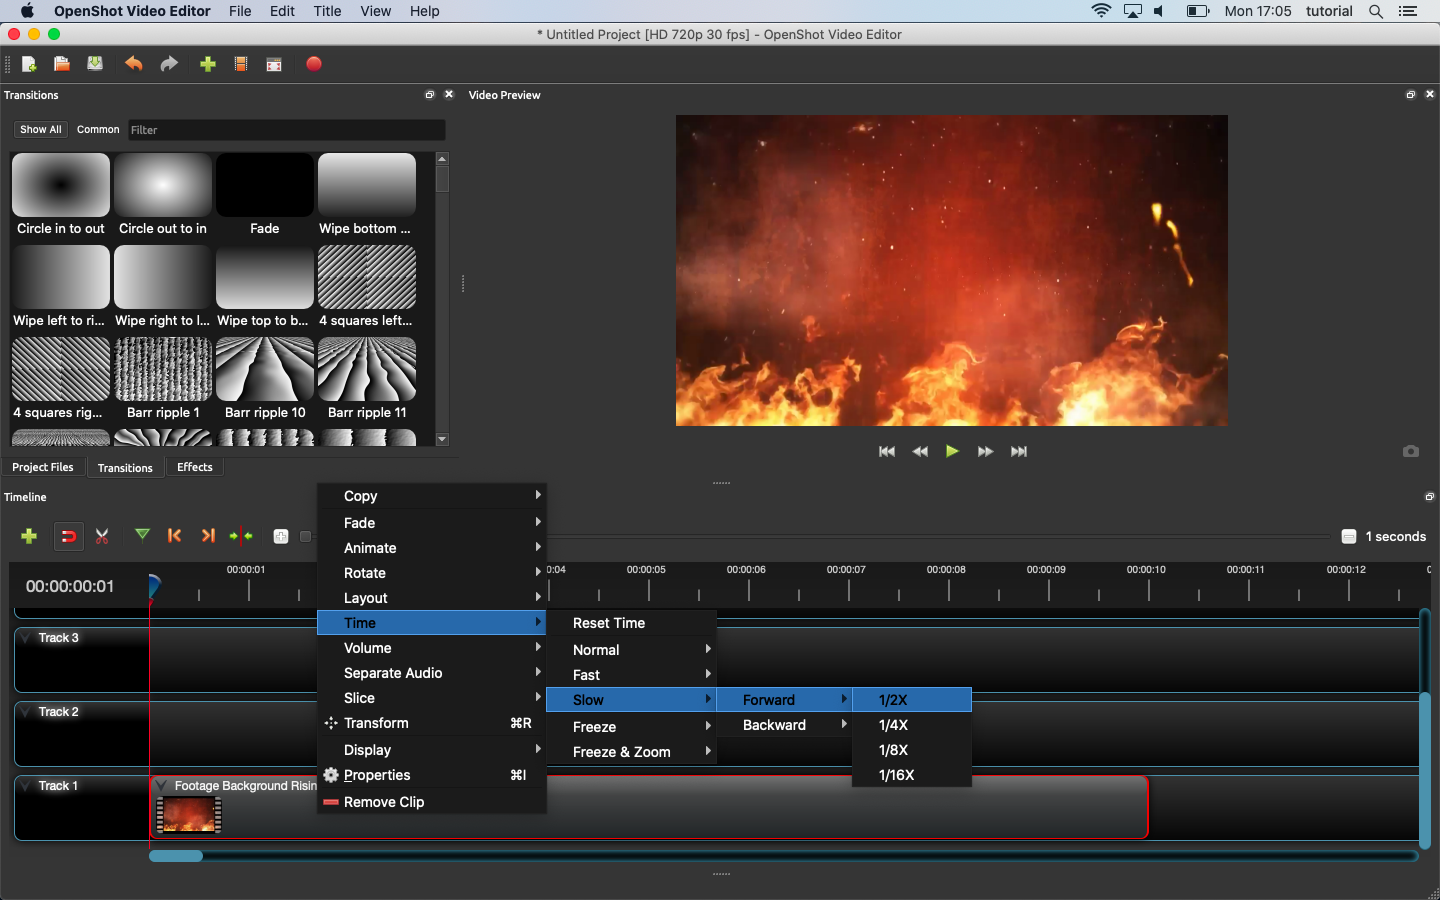
Let’s put our video in slowmotion because it just looks better that way; Right click on track 1
Select -> Time -> Forward -> 1/2X
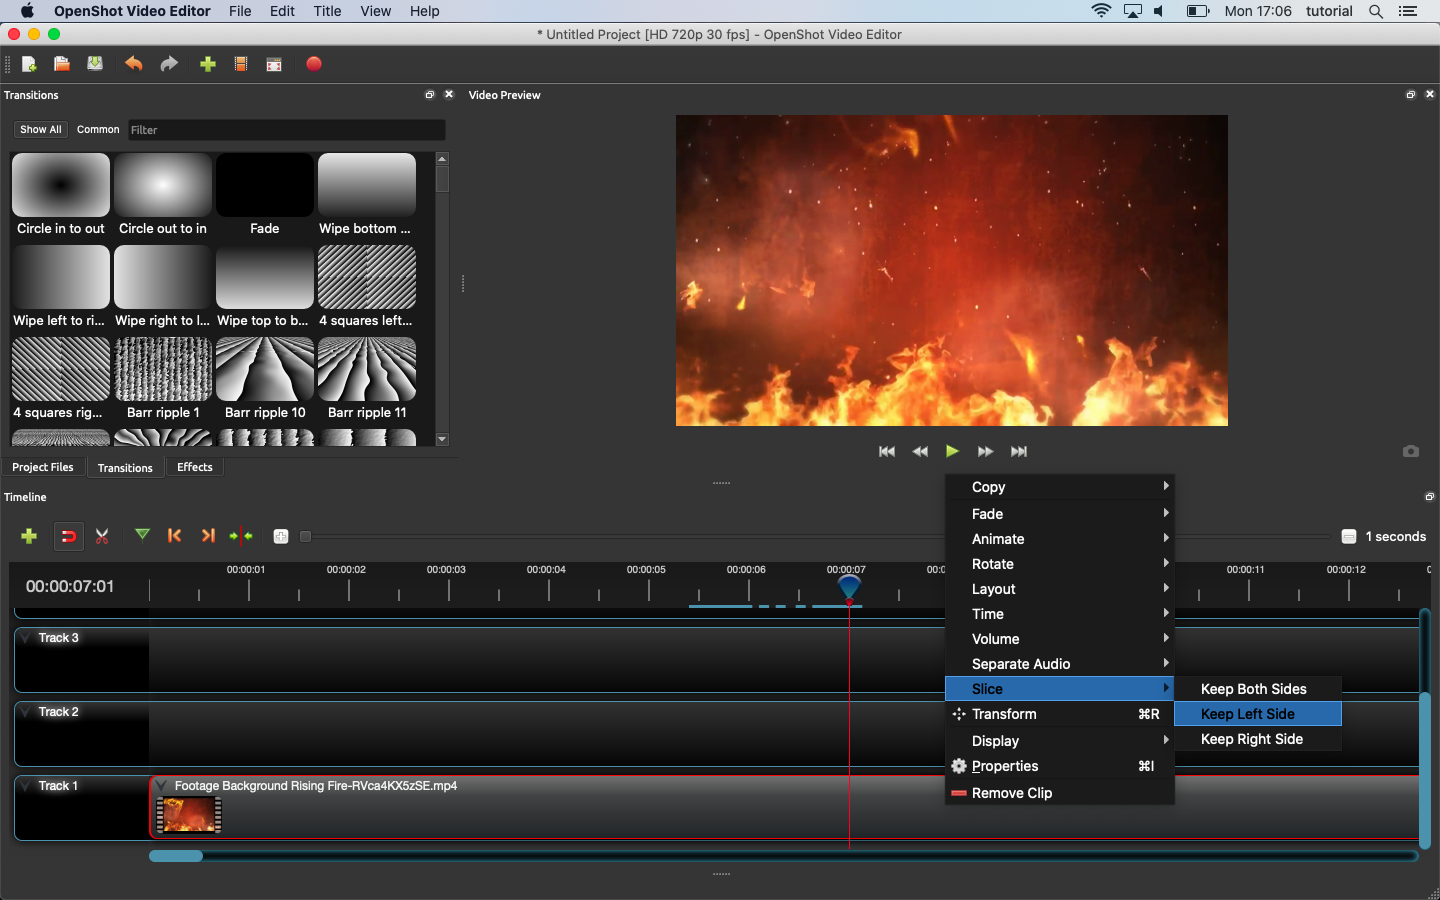
Now our video is to long so we are going to cut out the best part. Drag the ruler to about 5 seconds and right click on track 1 again
Select -> Slice -> keep right side
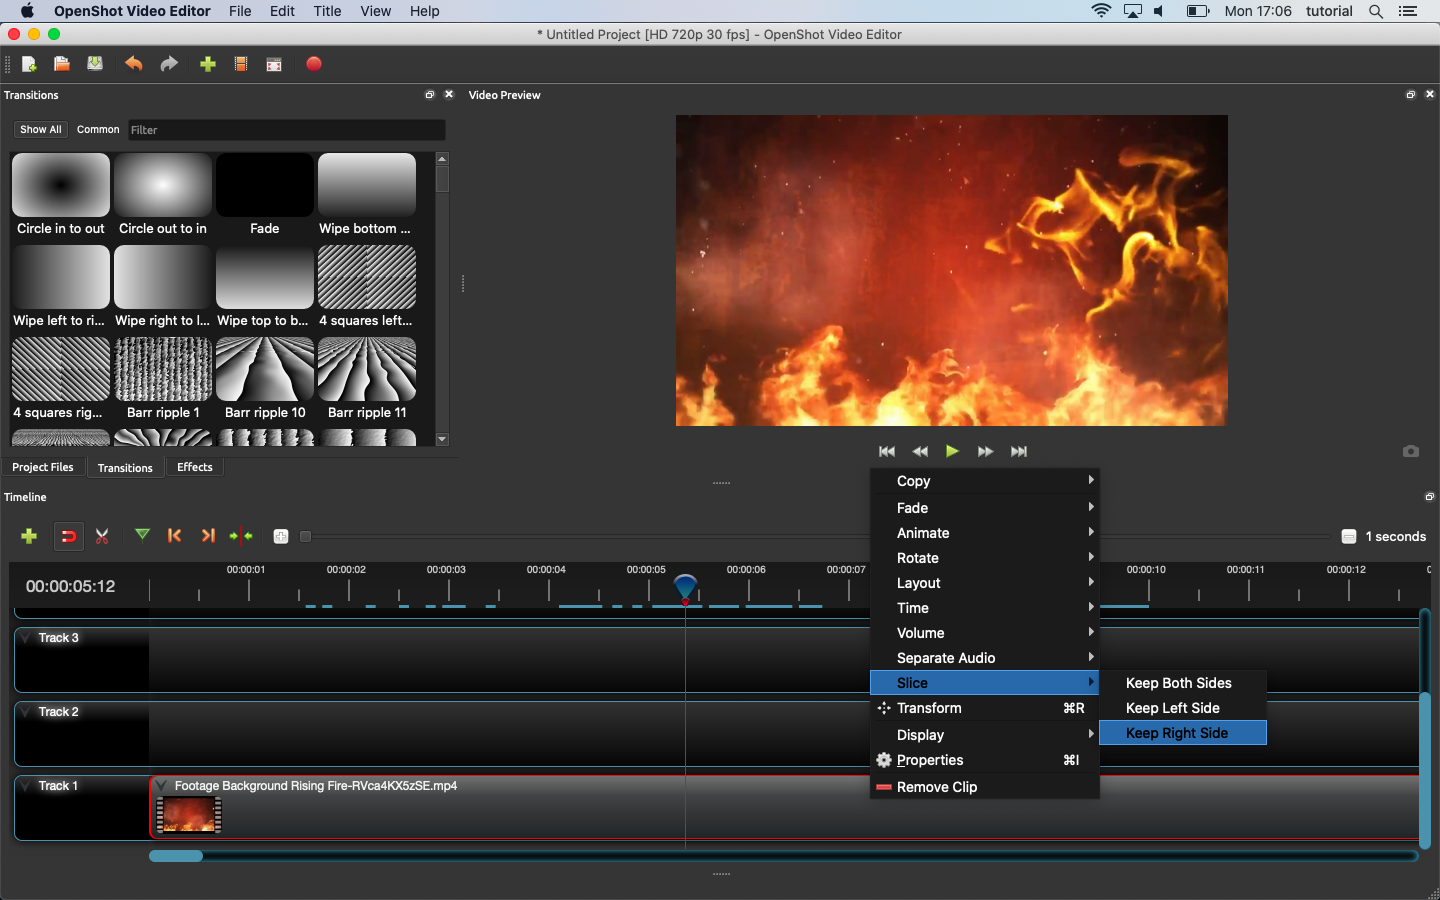
Now let’s cut our video to around 7 seconds
Select -> Slice -> keep left side
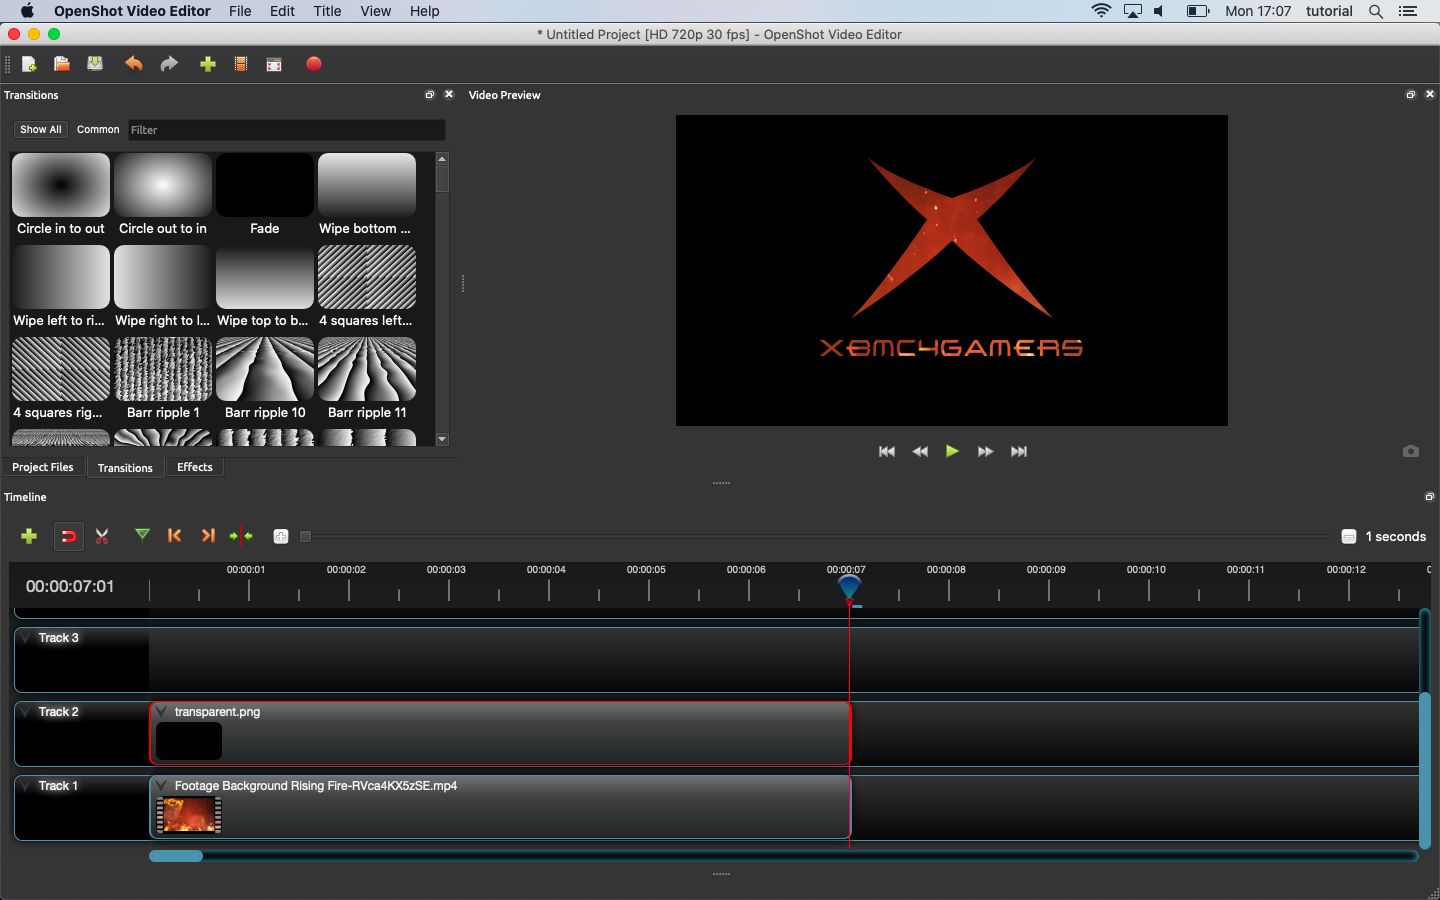
We are ready to drag & drop our “transparent.png” to track to.
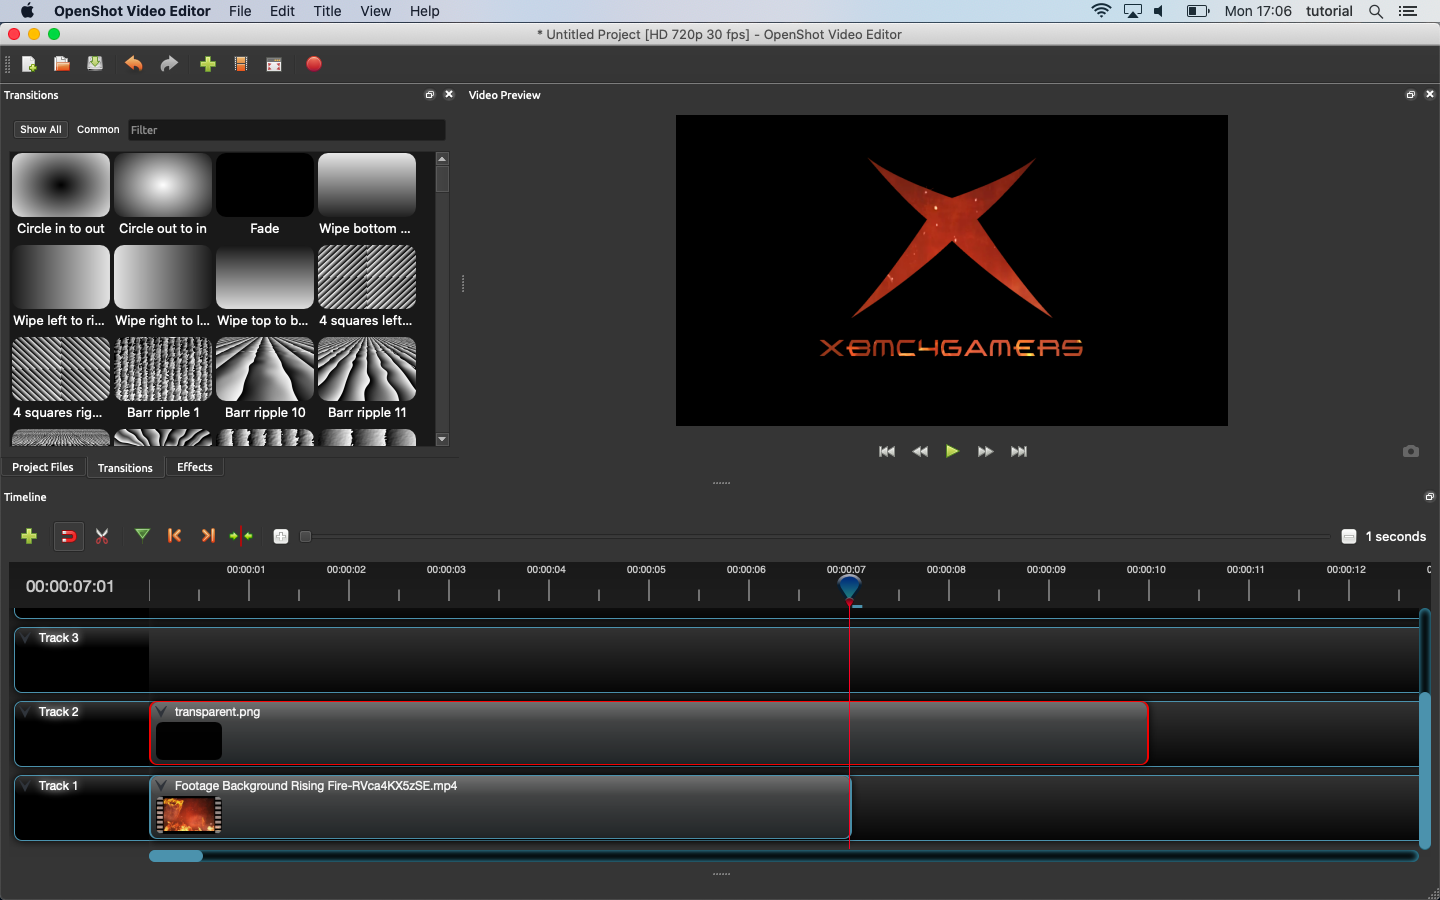
Starting to look good! Make it so that it is as long as track 1.
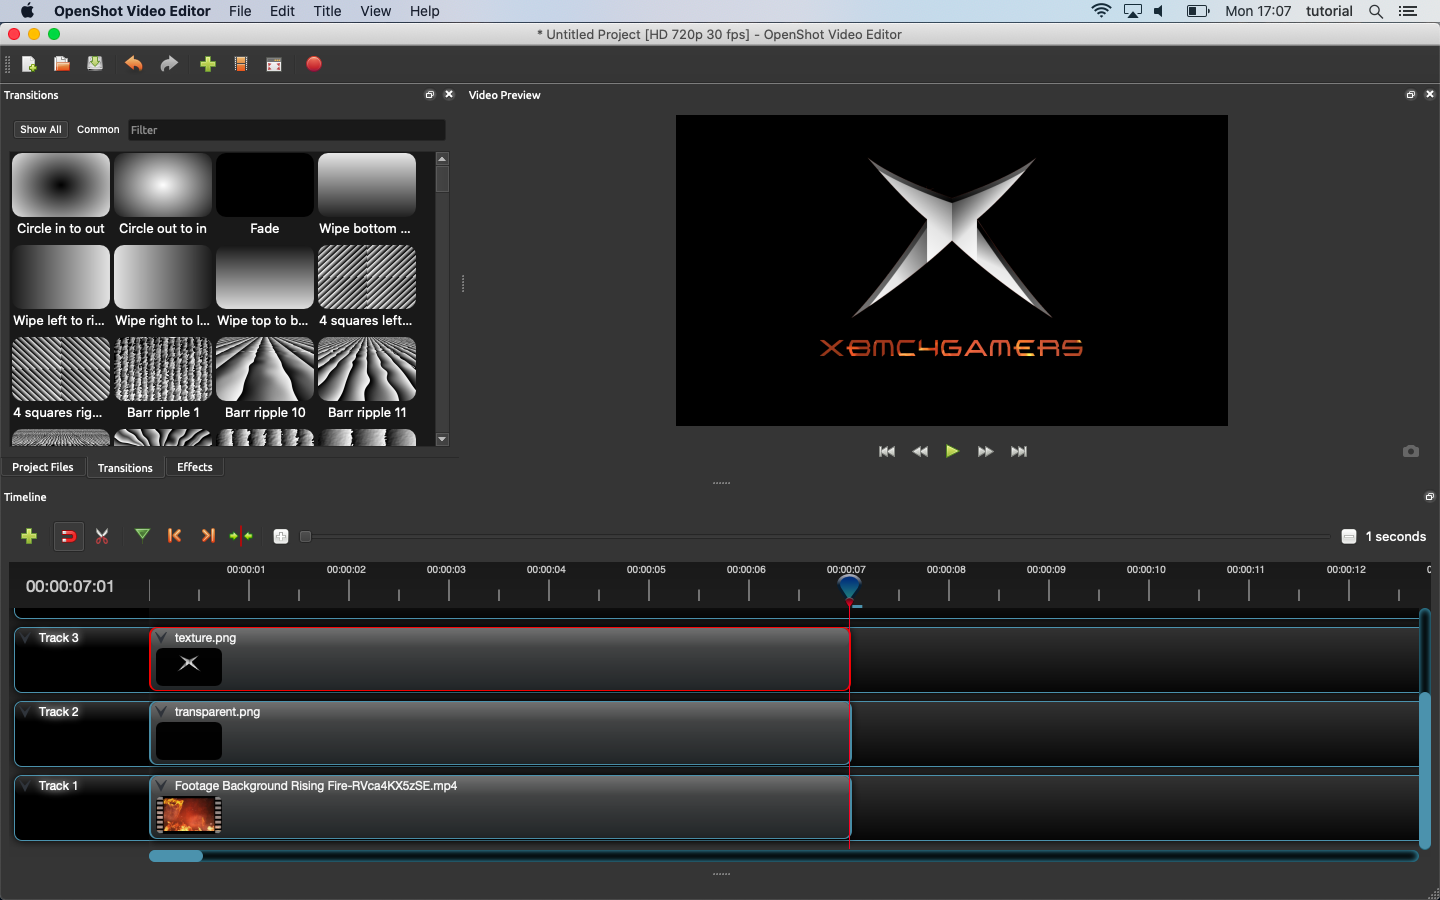
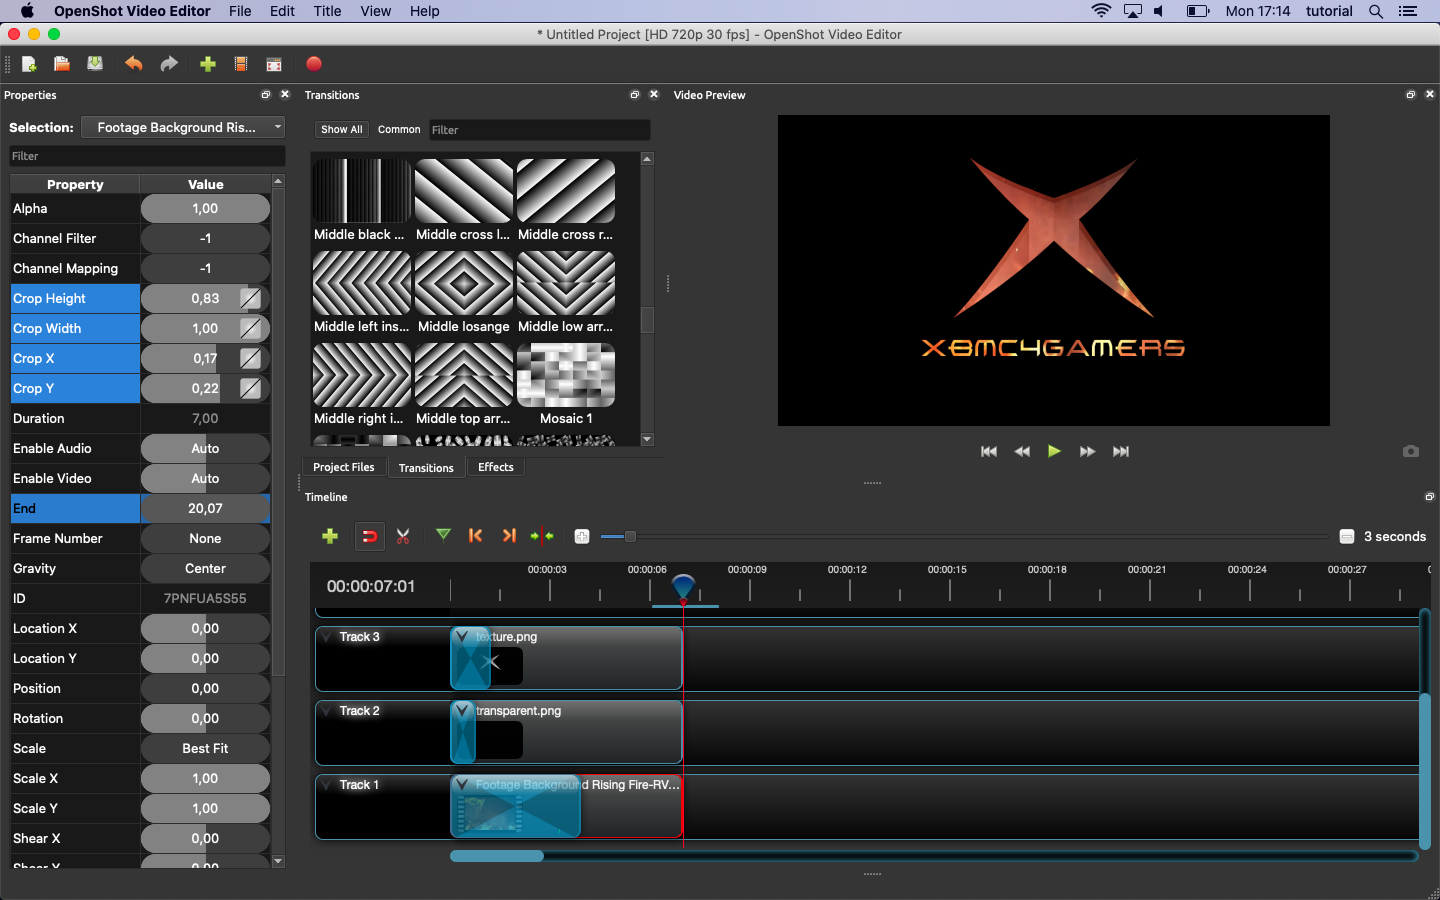
Now drag & drop “texture.png” to track 3.
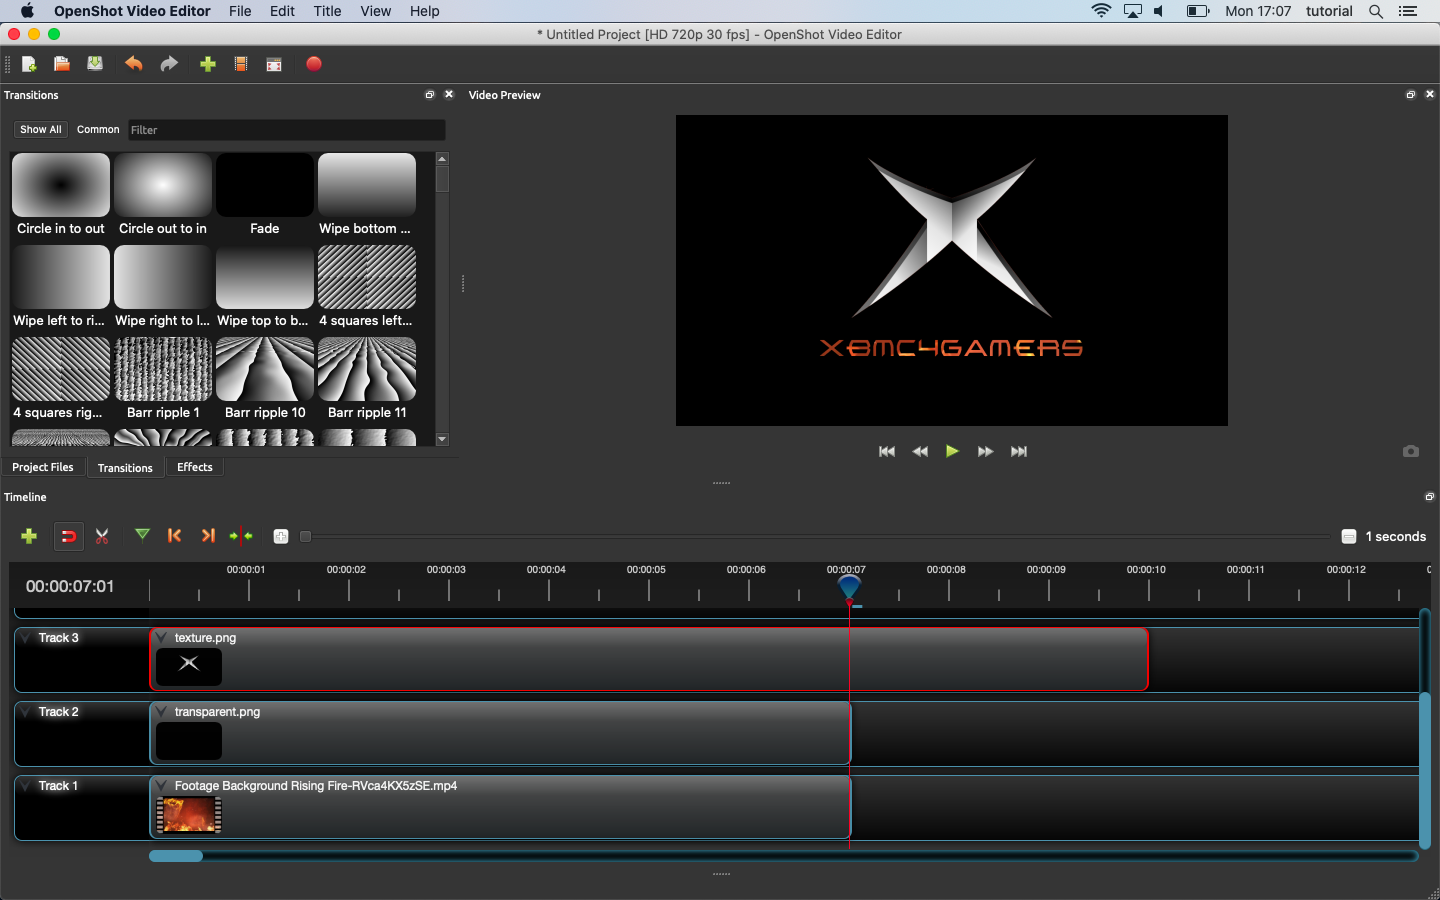
Right, als make track 3 as long as track 1.
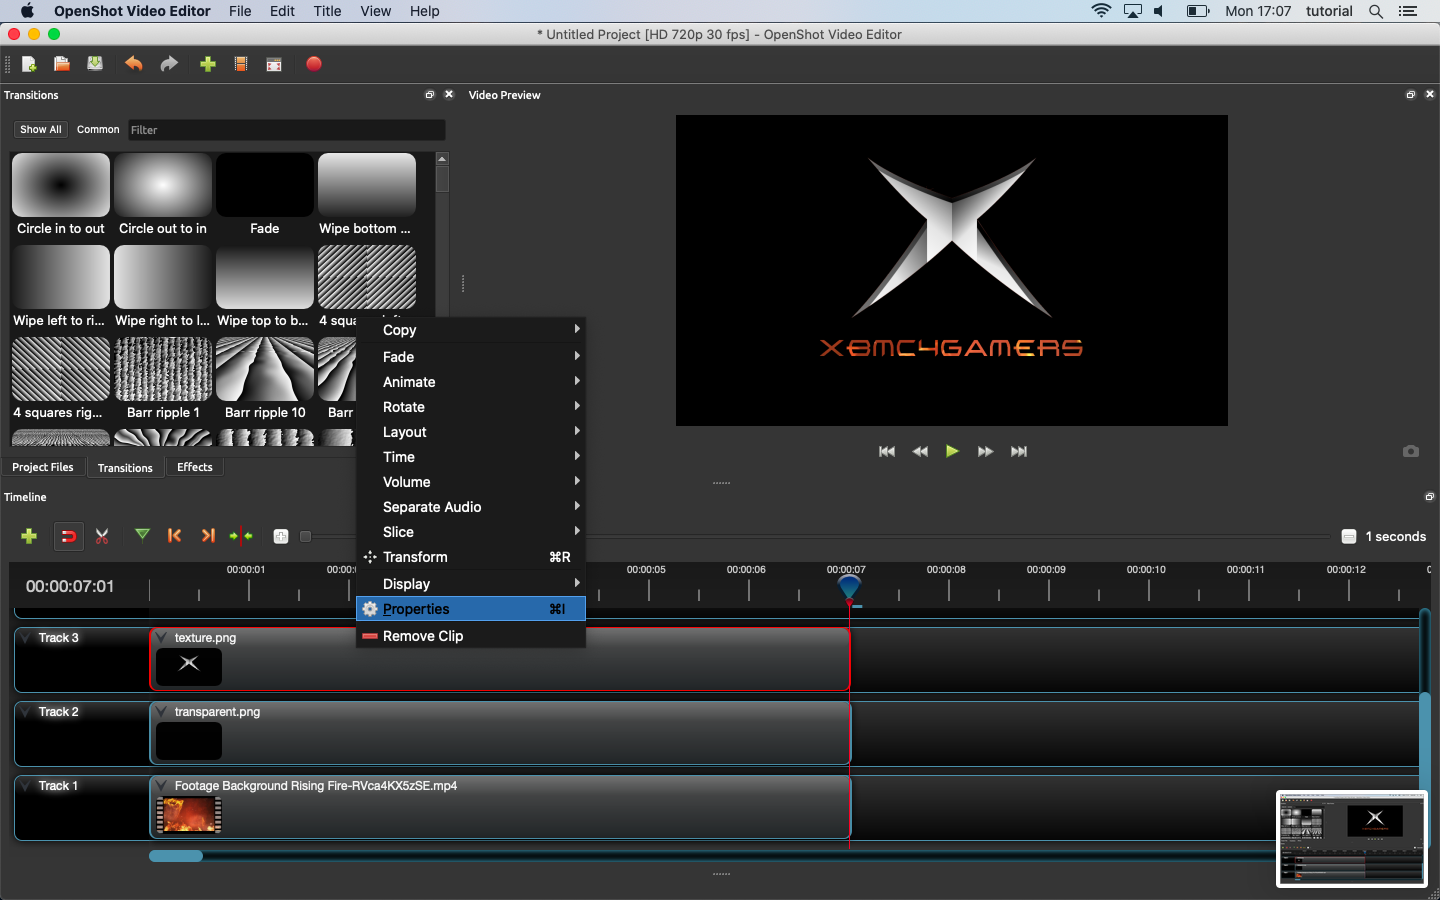
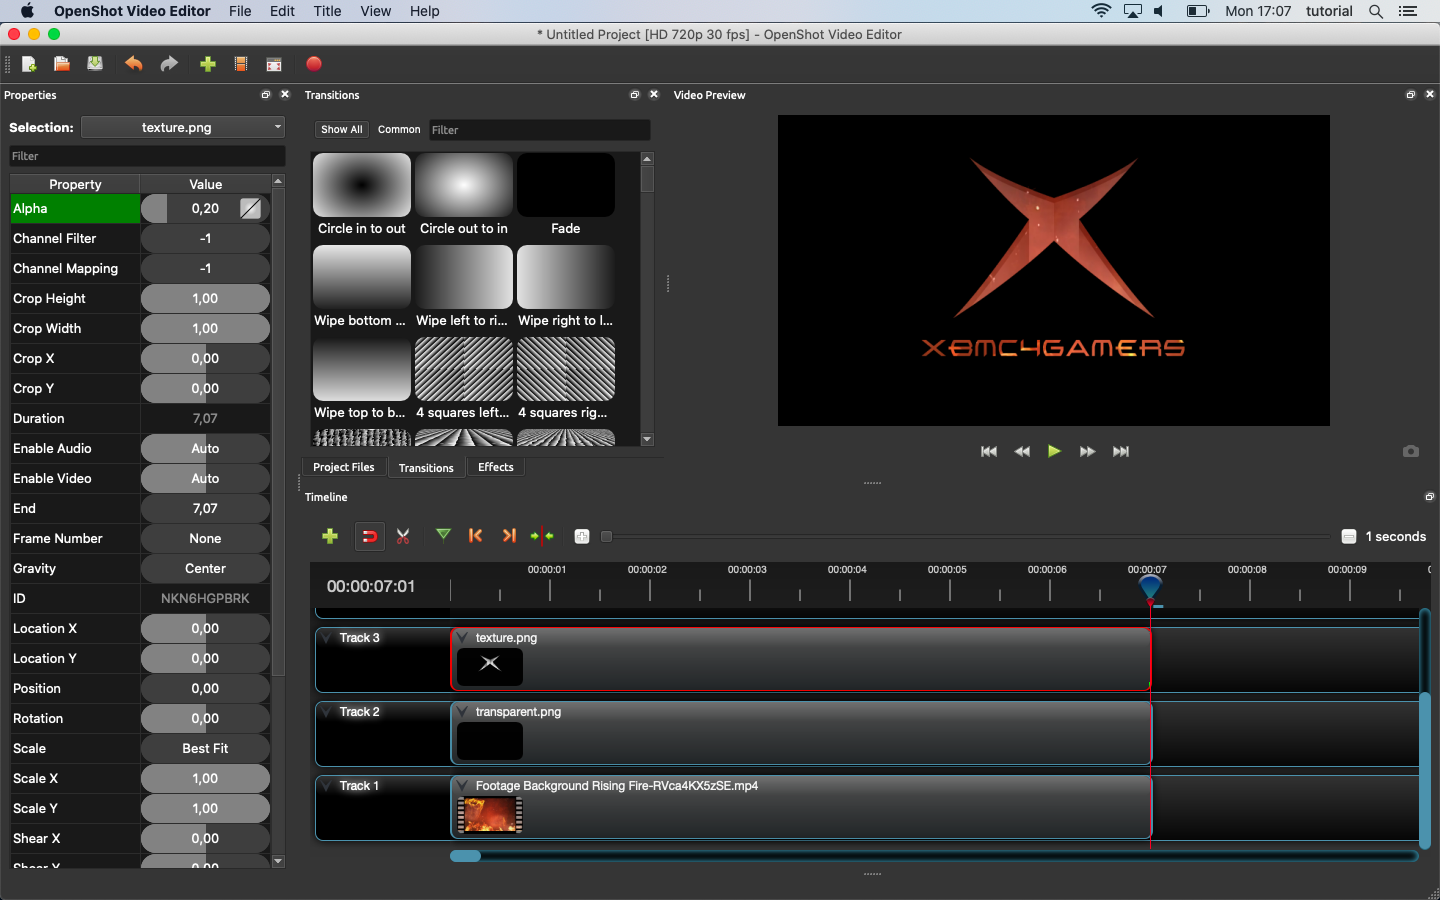
We need to do something about the texture, right click on track 3, select “properties”.
At the left side of the screen a window will appear. select “Alpha” and set it to “0,20”
We want our intro video to fade in, So let’s drag & drop “fade” from the transitions window onto every track.
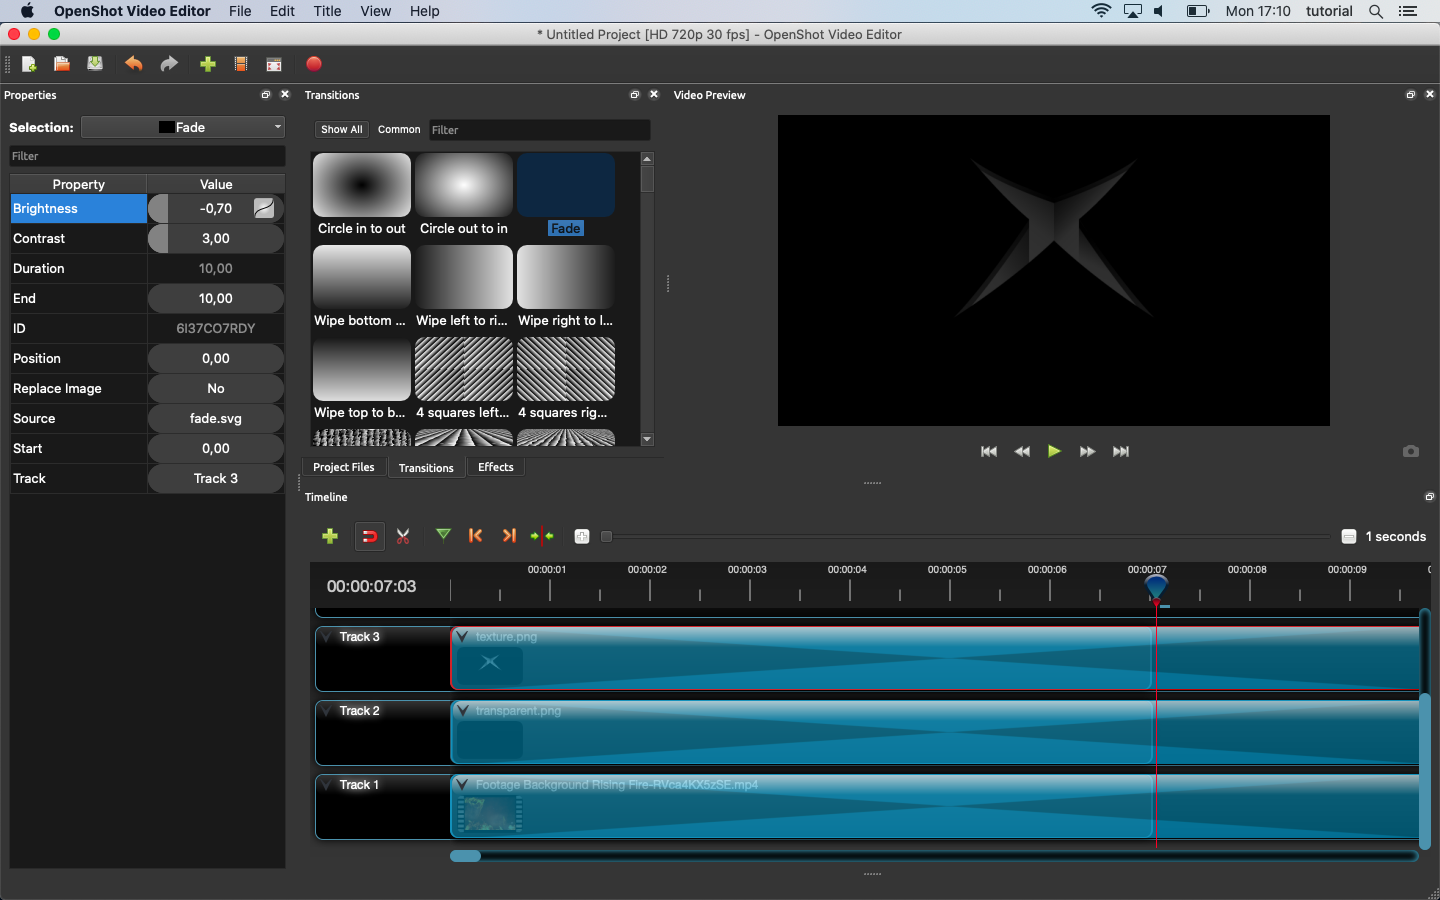
Now change the fade transition for every track like in the picture below:
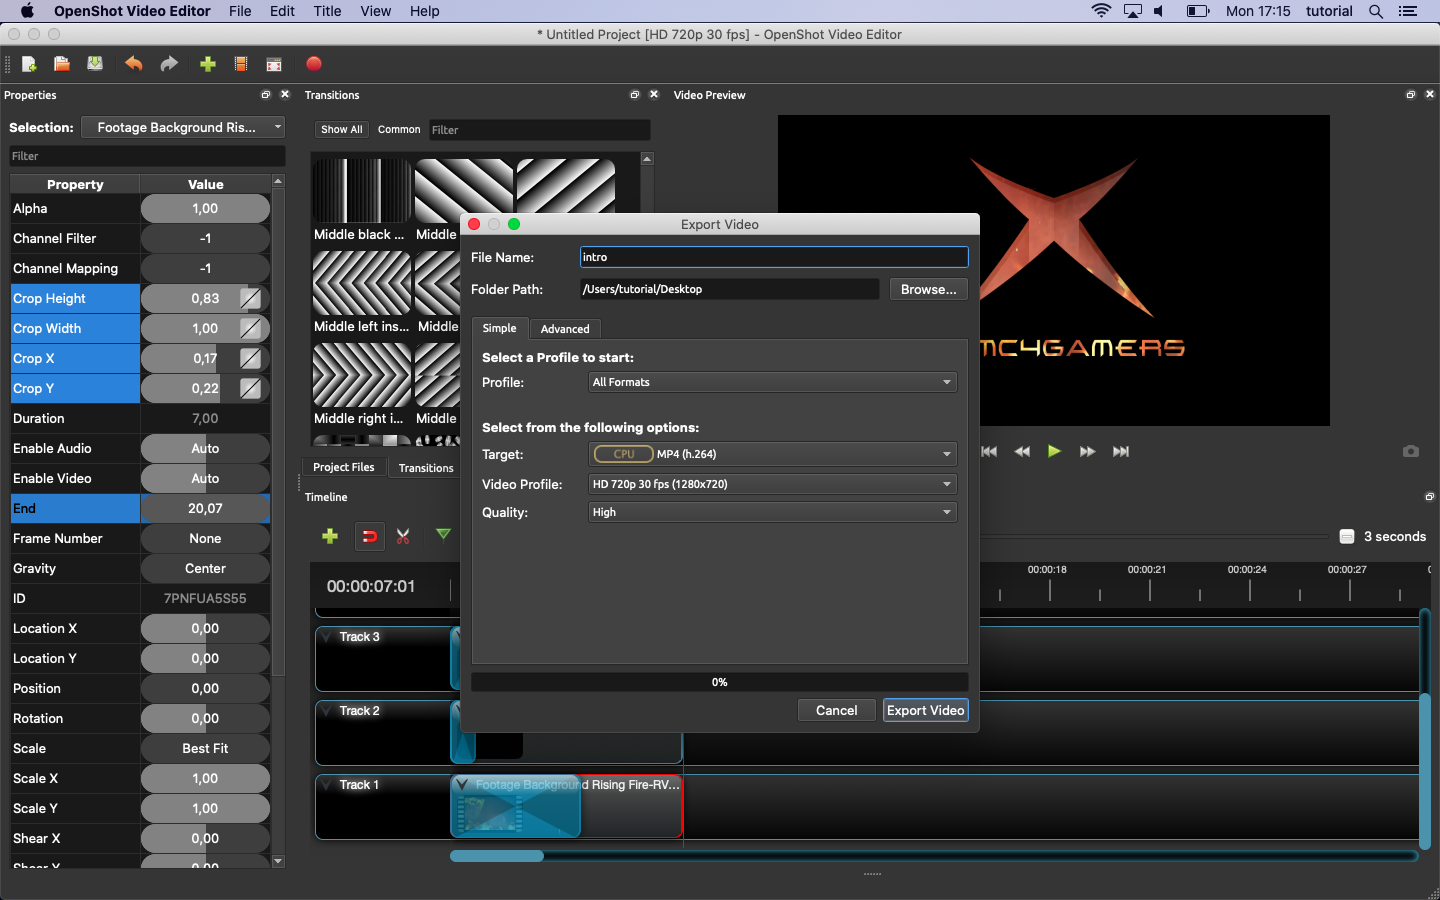
We are done with the main video, let’s export it.
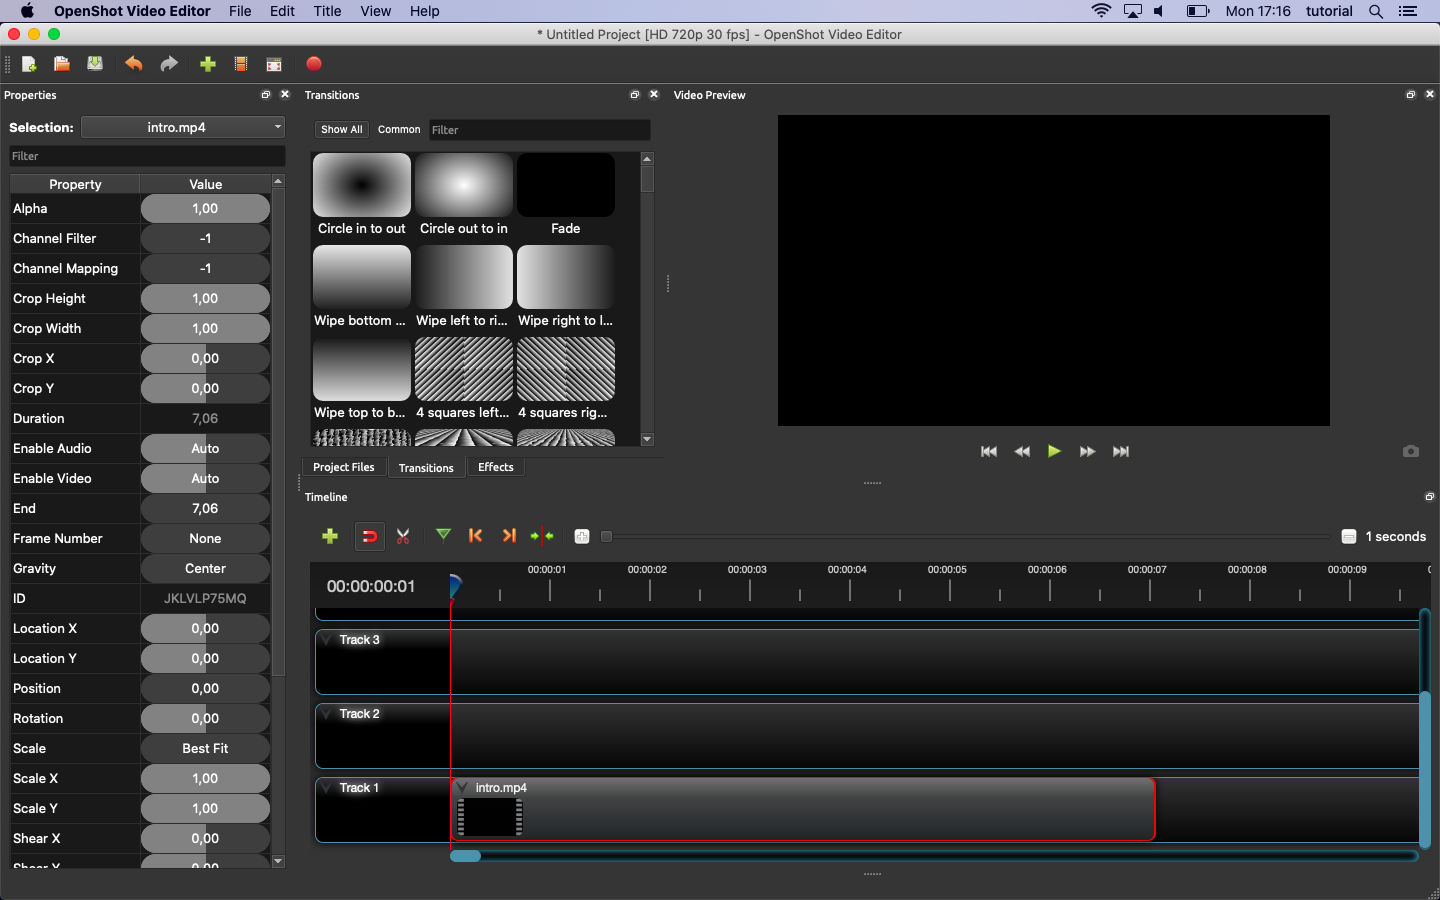
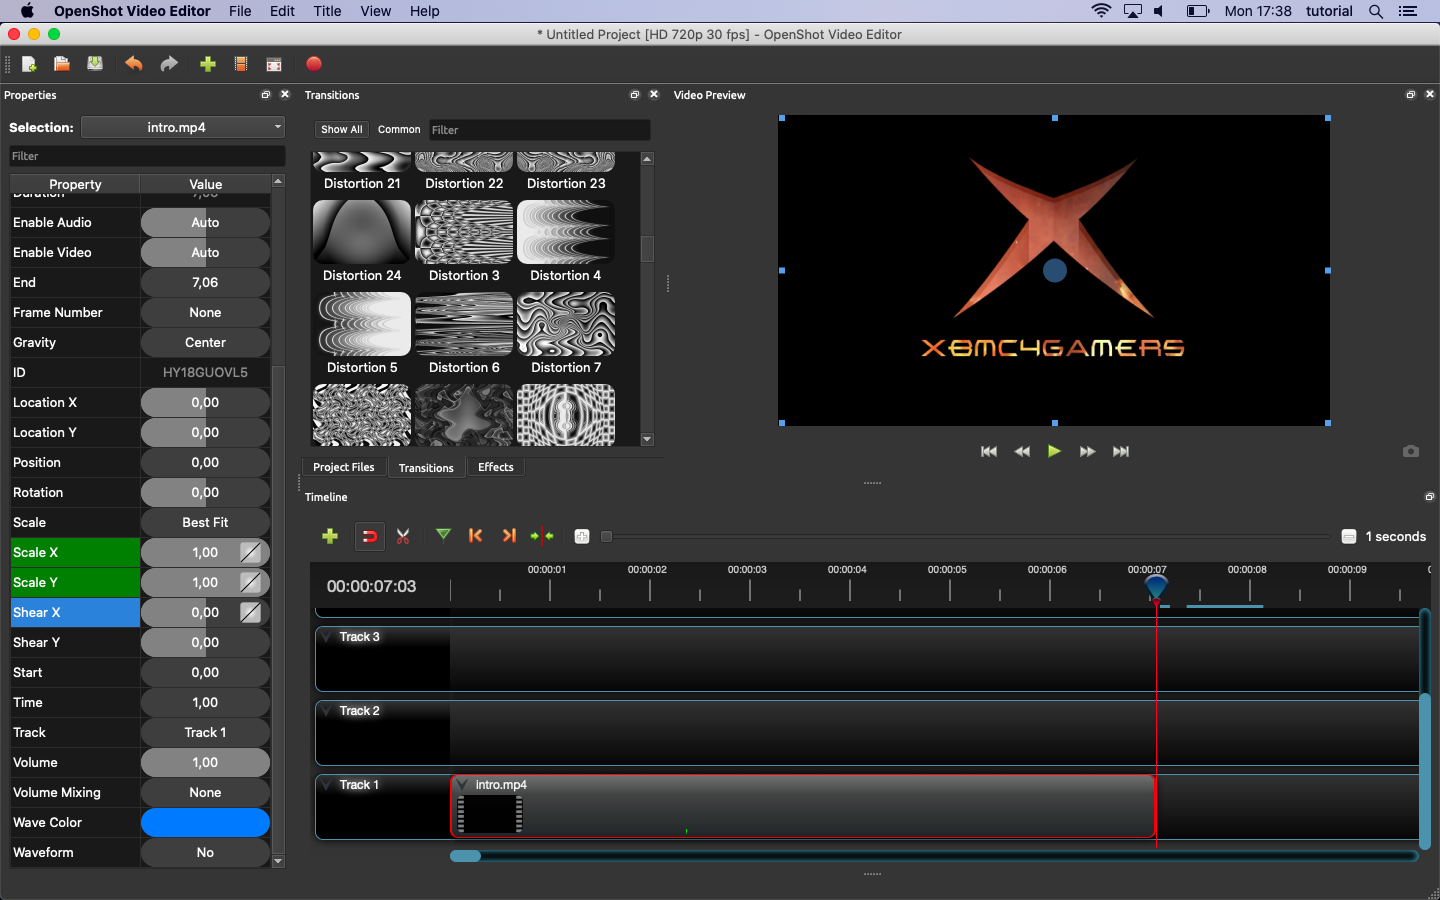
We still need the “Ken Burns” effect. Start a new video and drag our freshly exported mp4 to track 1
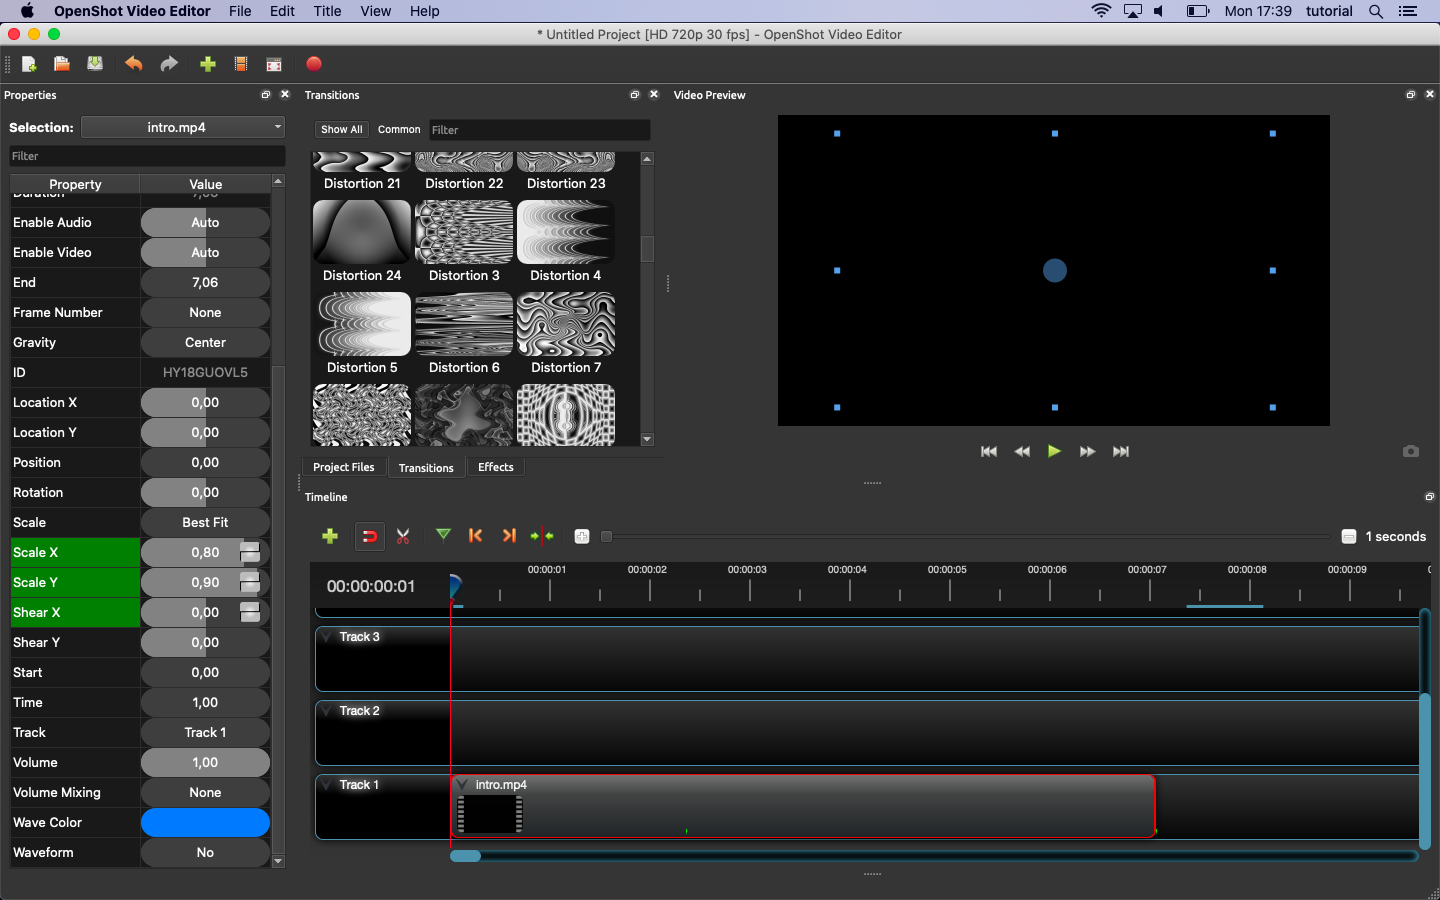
Set the ruler at the beginning of the video, select the video and set “Scale X” and “Scale Y” to 0,80
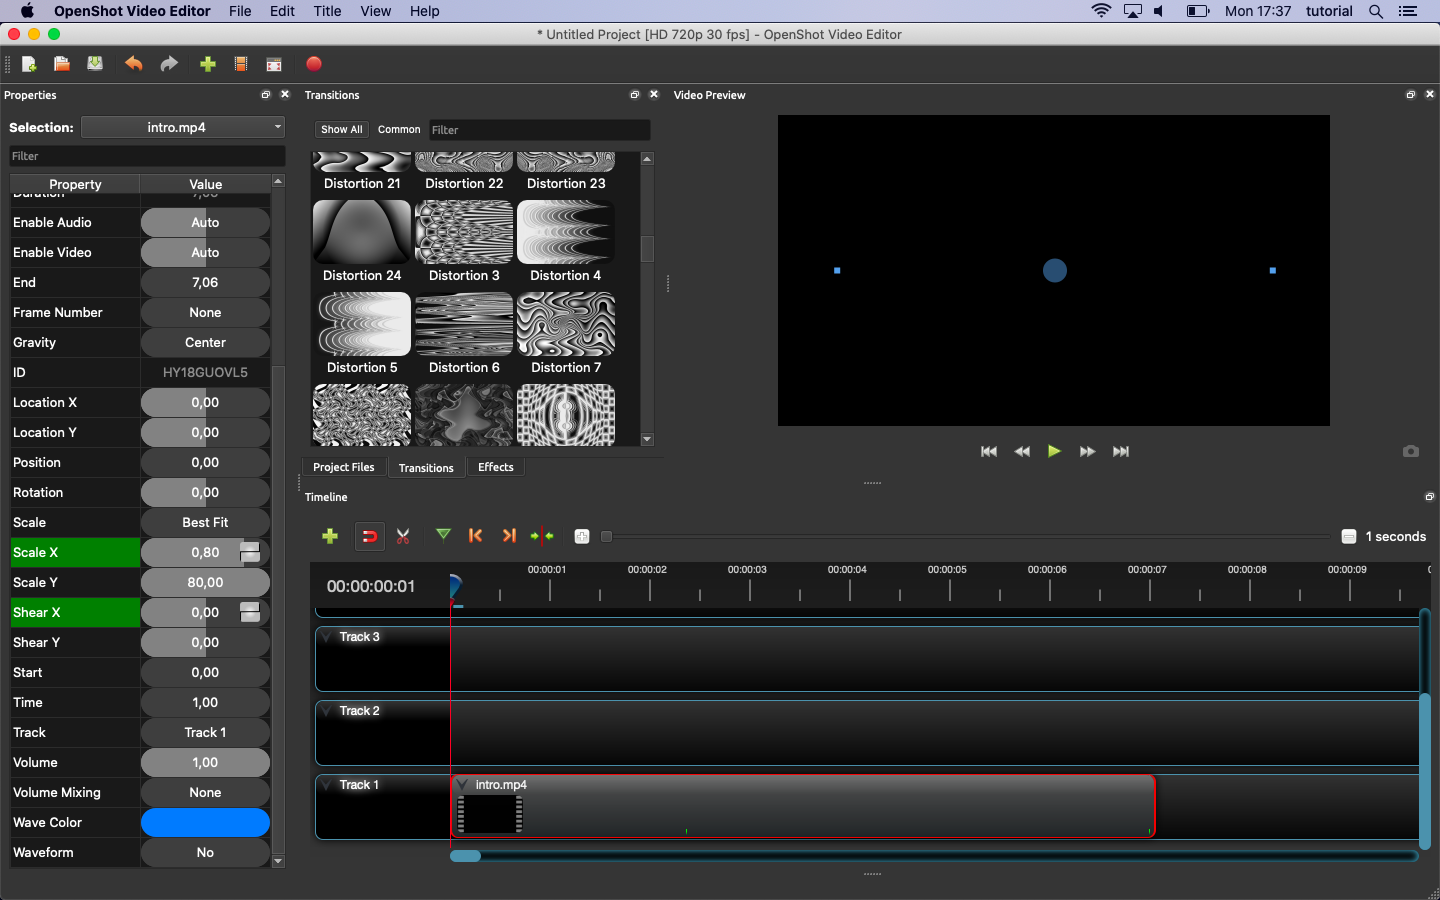
Set the ruler at the end of the video, select the video and set “Scale X” and “Scale Y” to 1,20
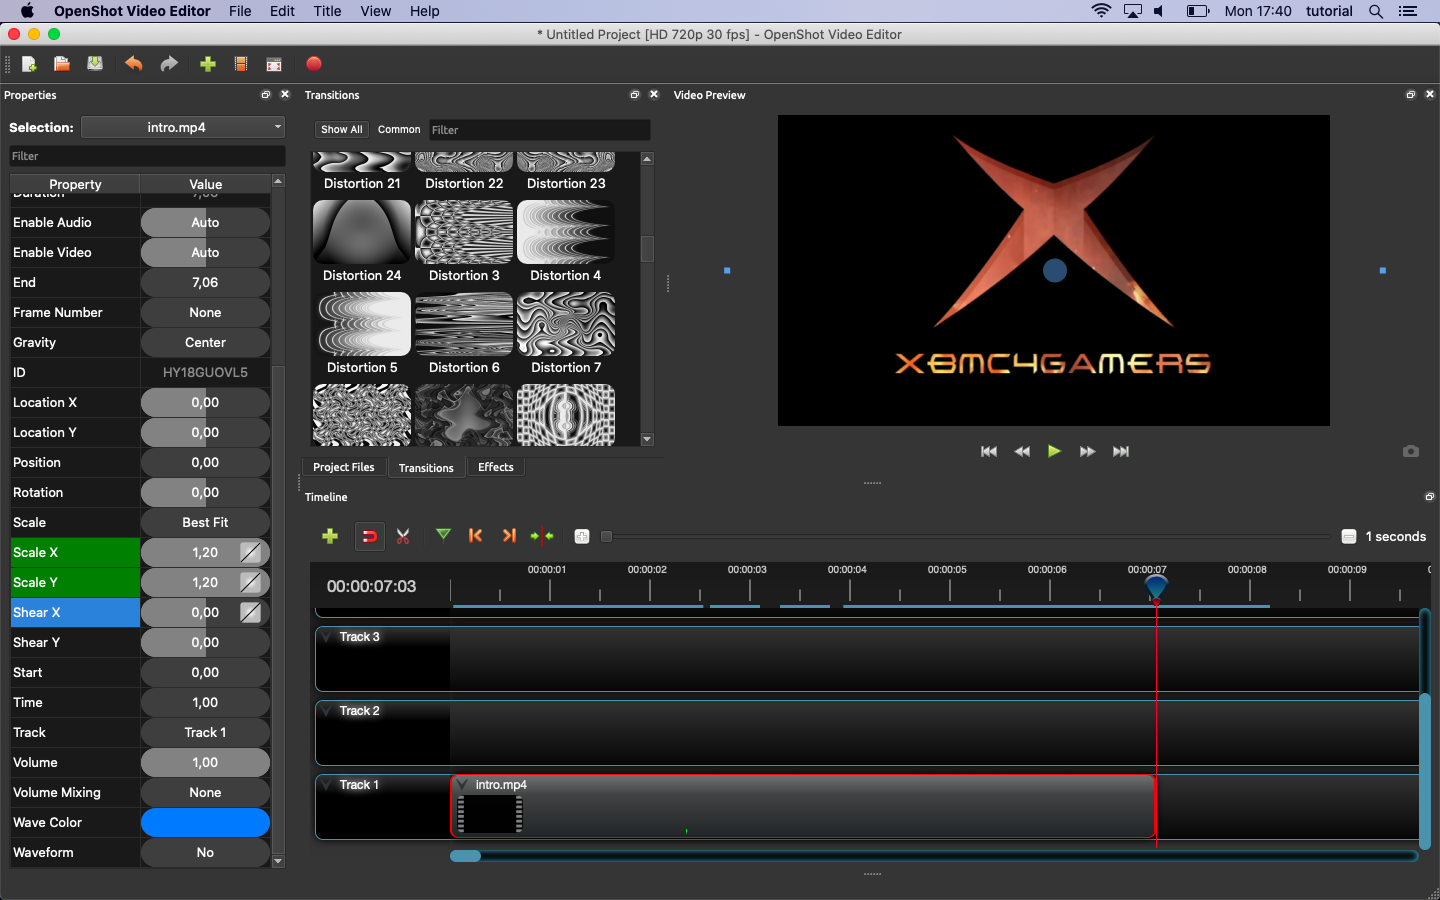
Now we are done and can export our final video!
FTP your file to your XBOX and place it in the xbmc4gamers installation directory. Be sure to name it “intro.mp4”
Cheers!